Building a custom motorcycle rack for the Kymco Spade
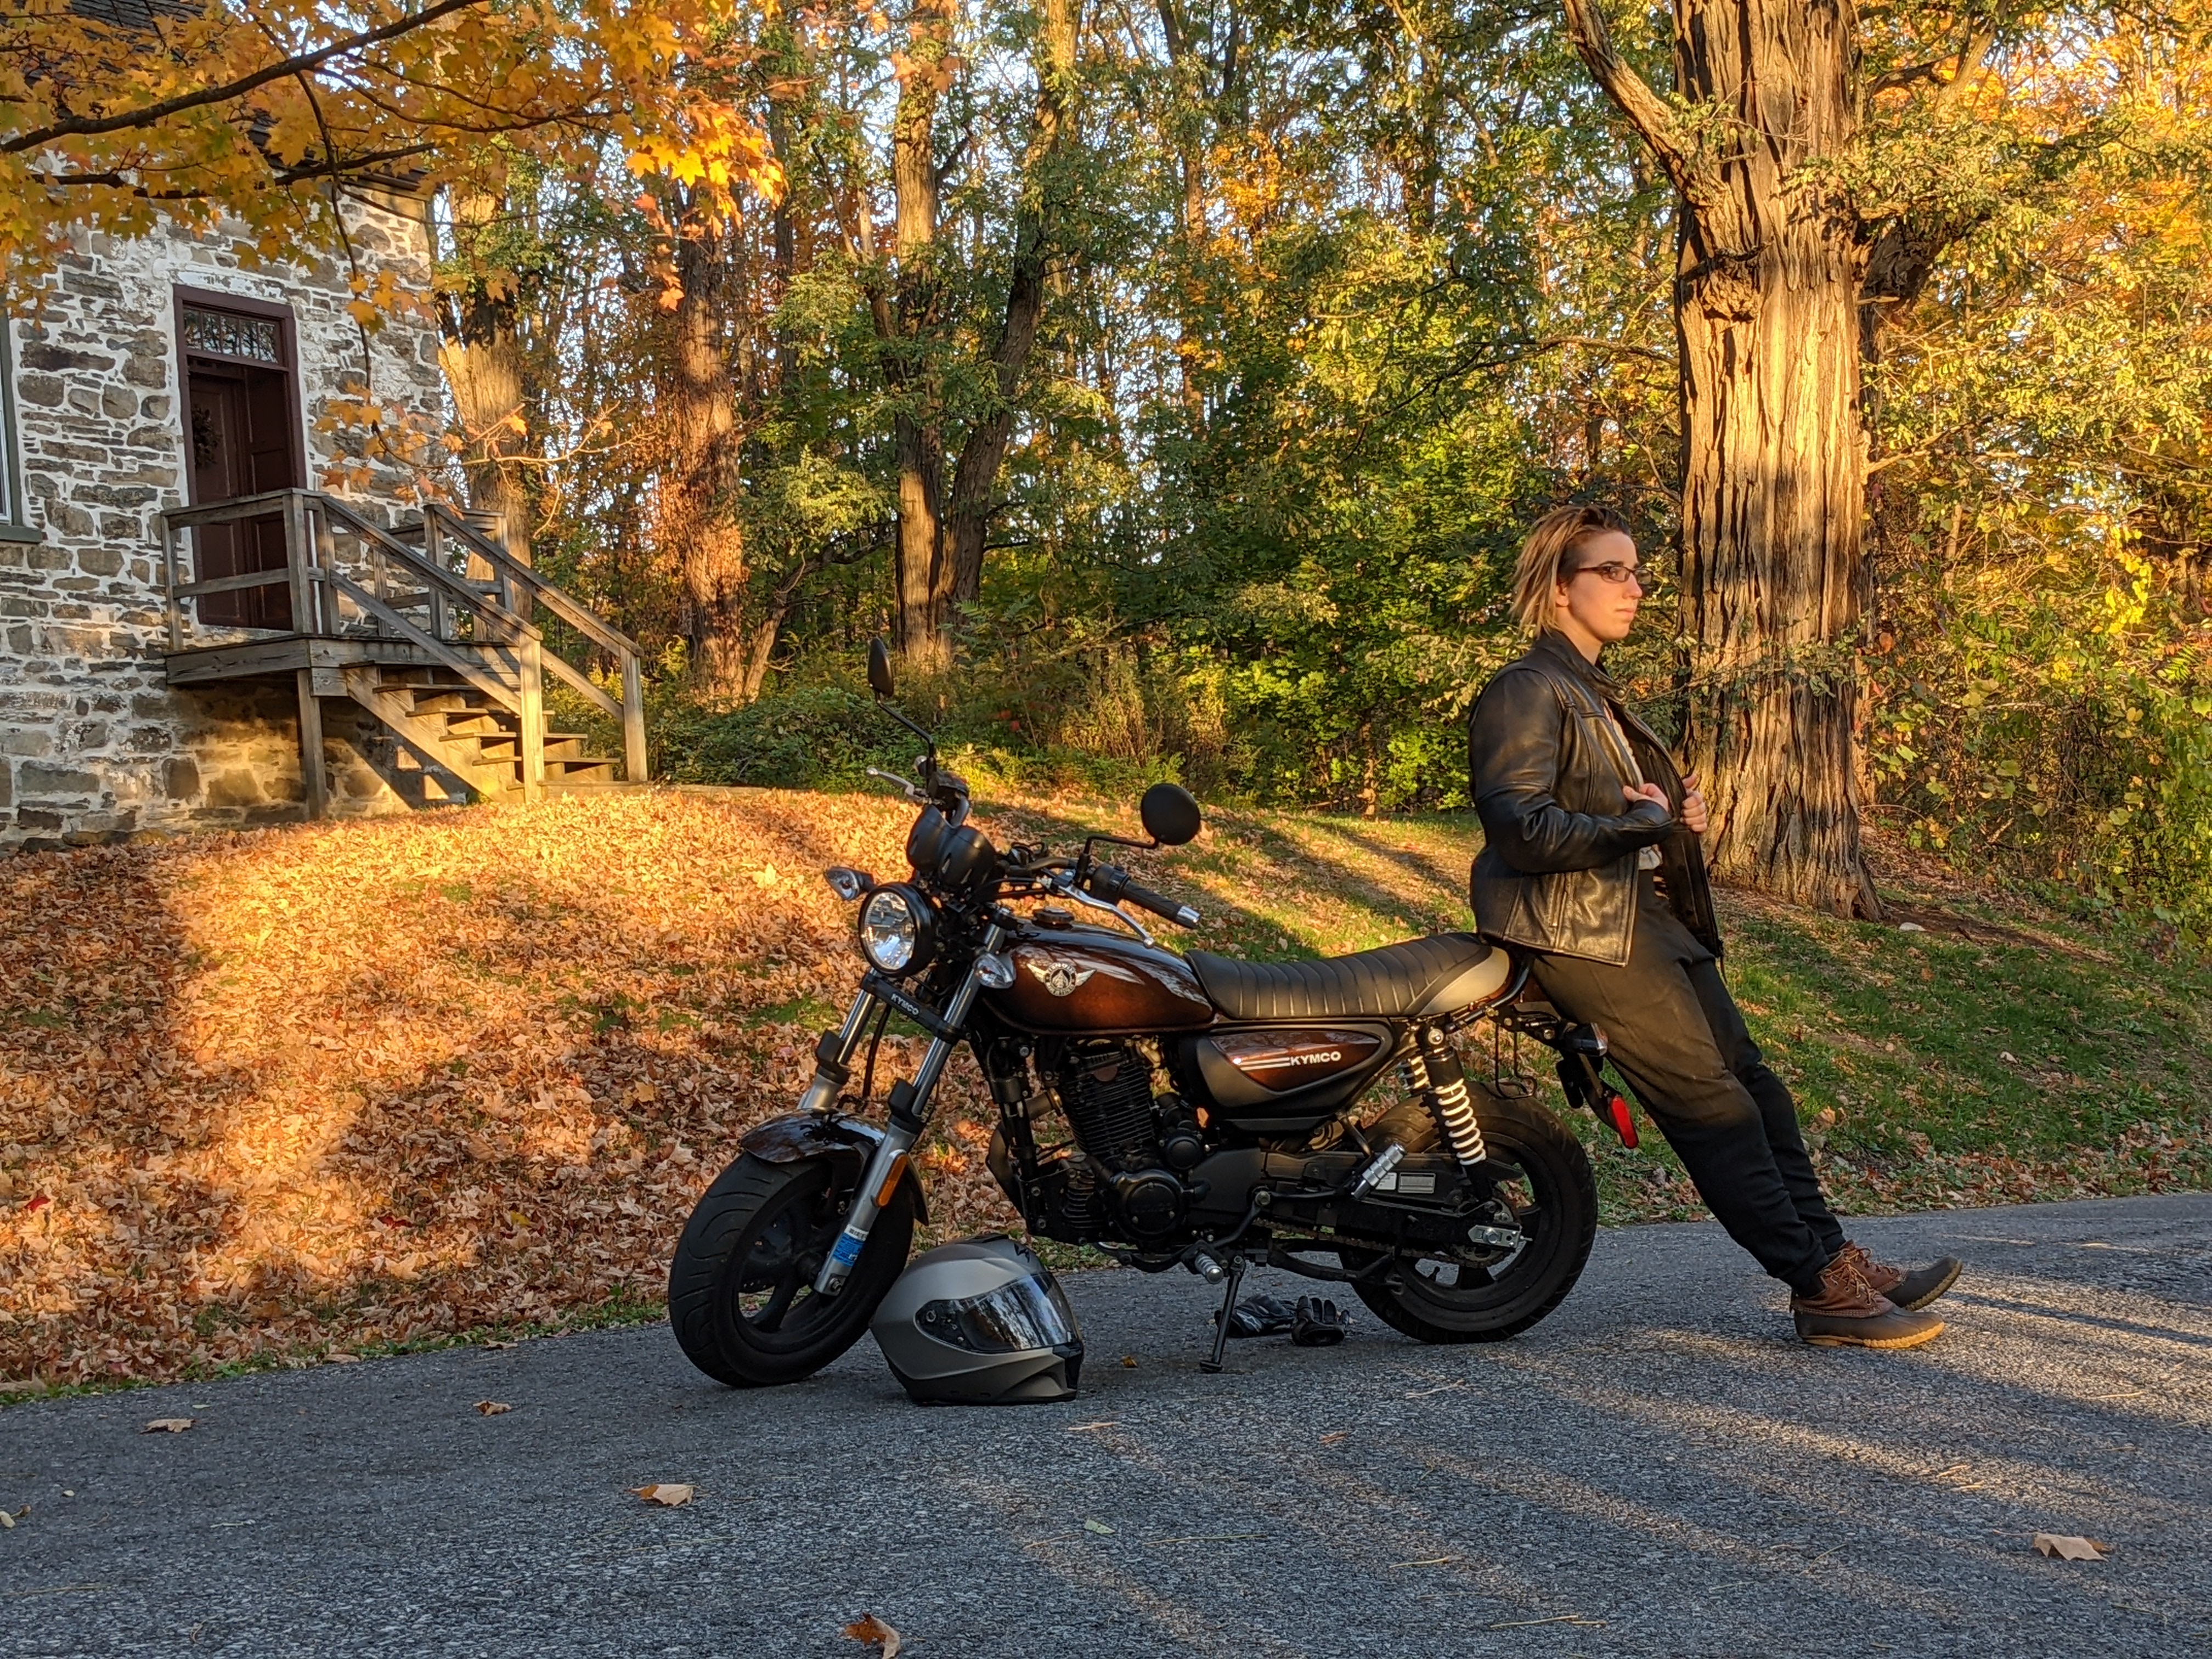
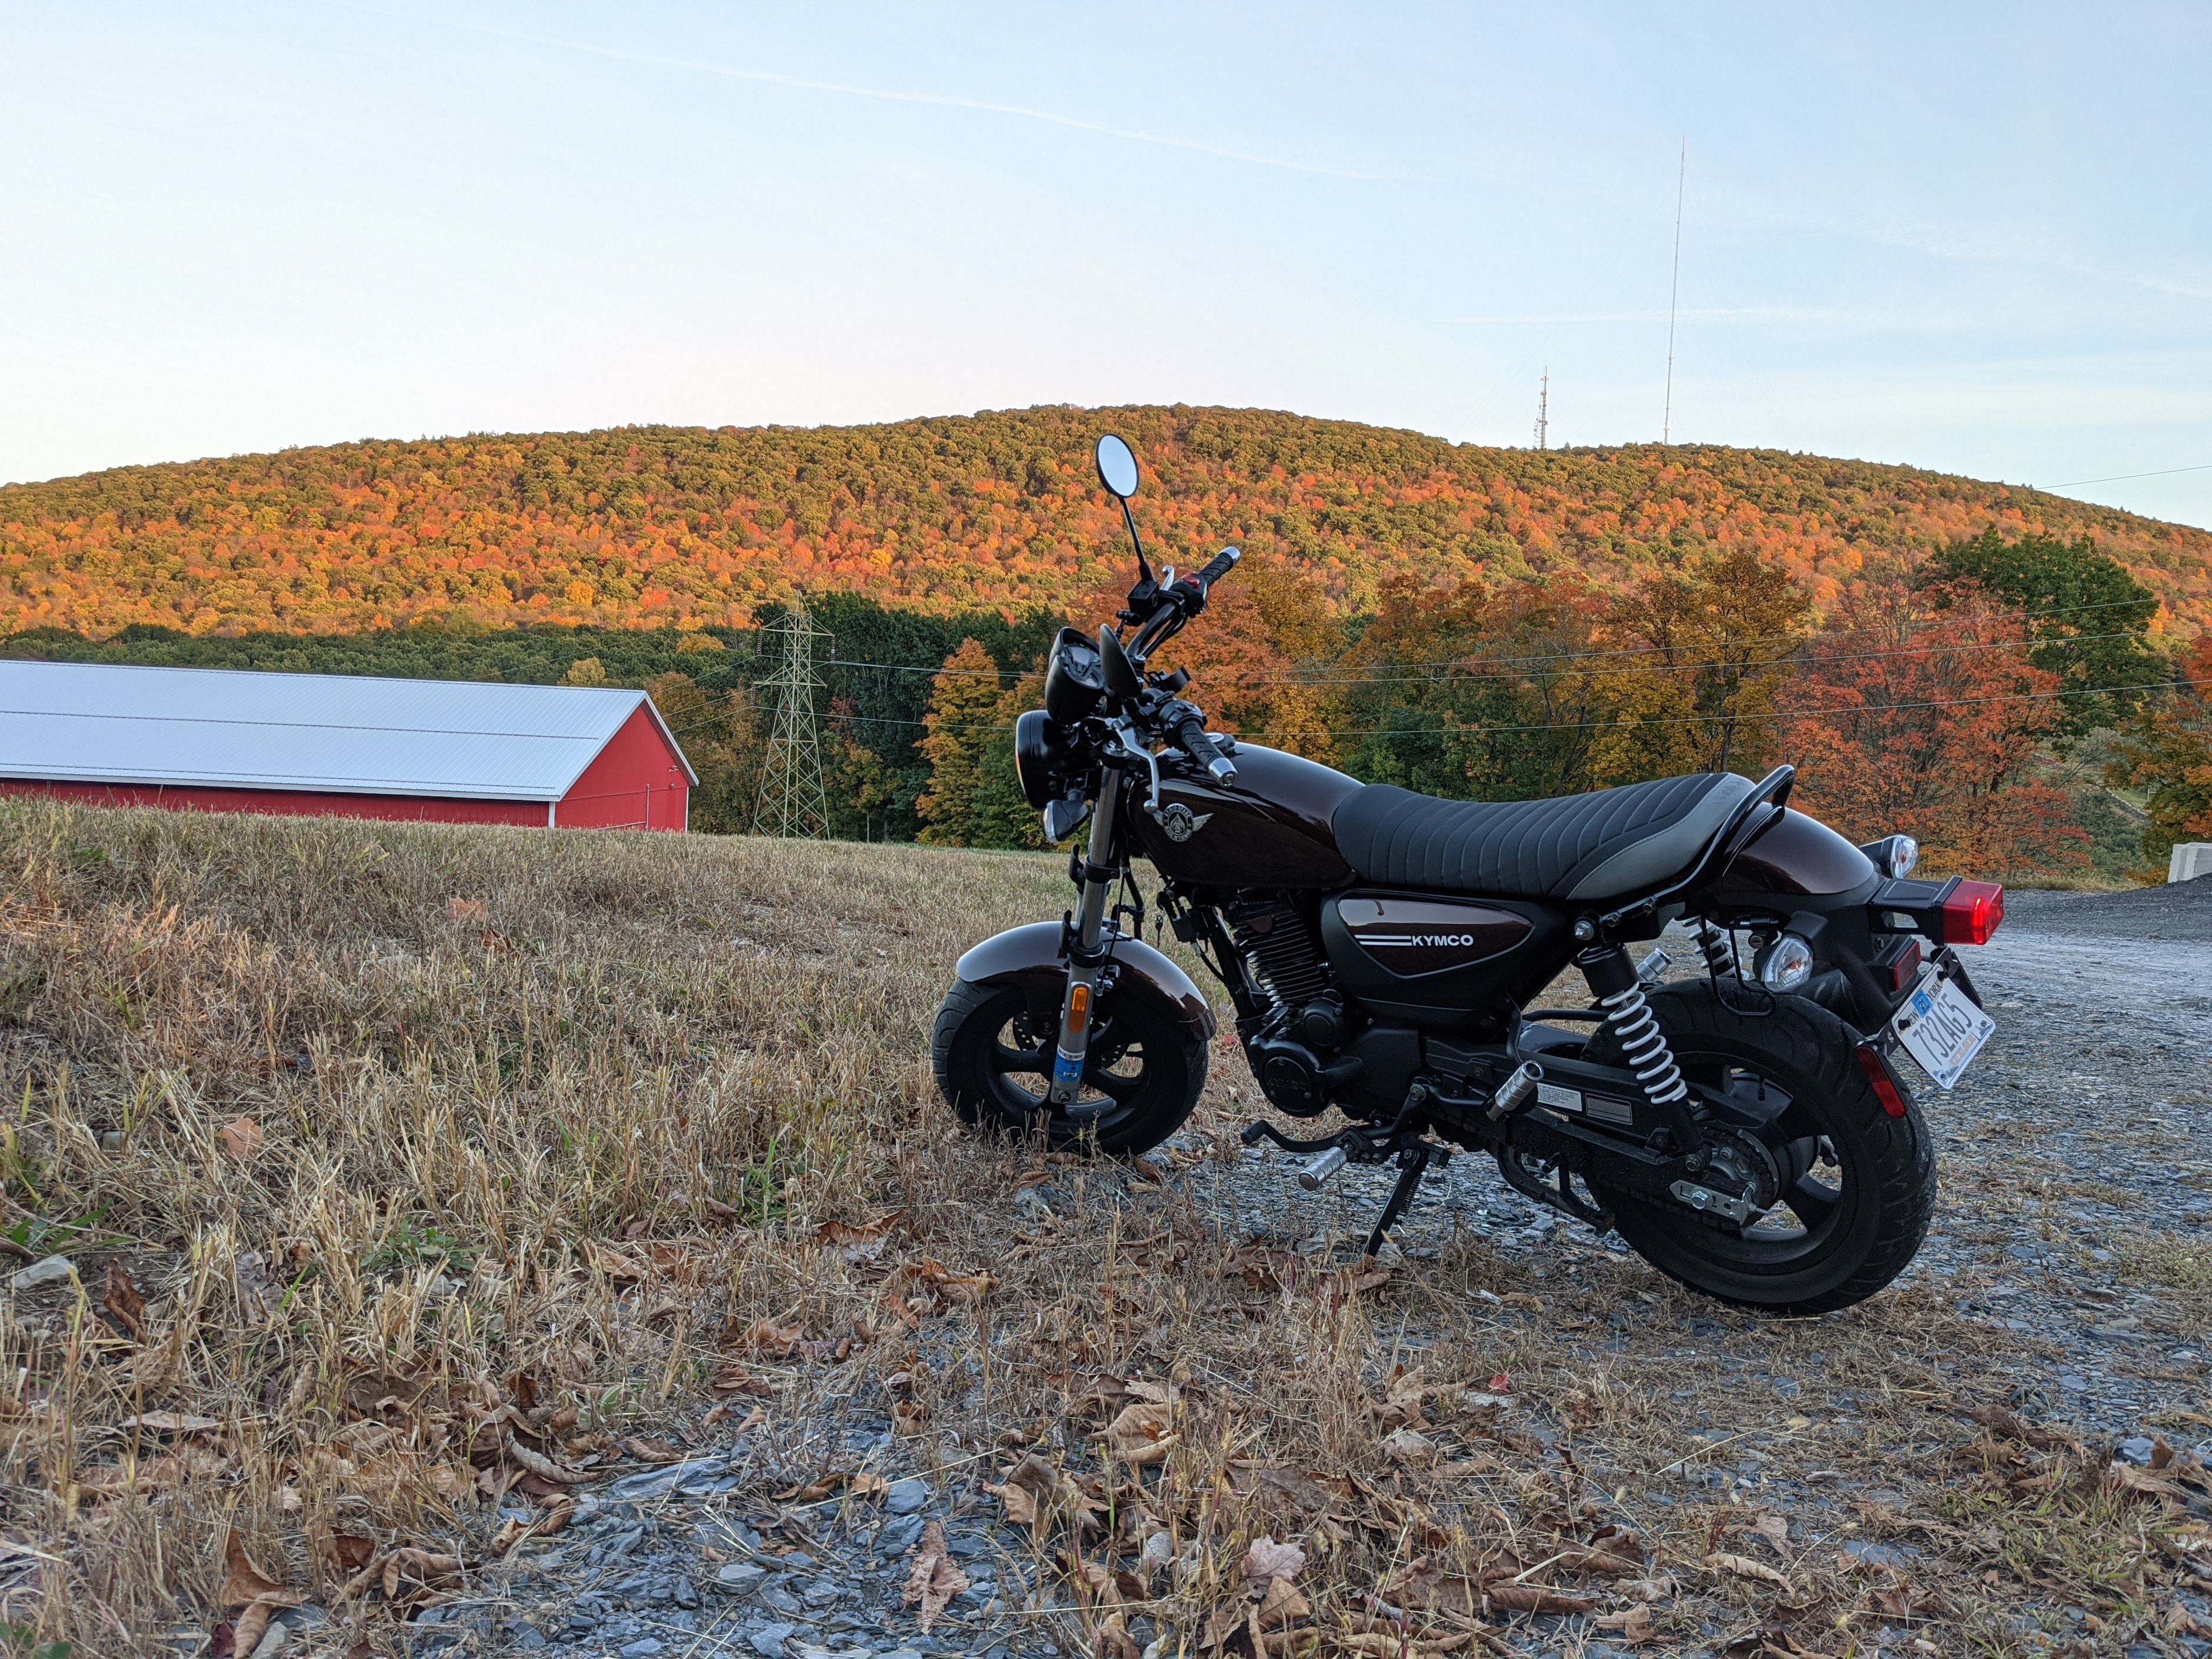
So, I have this motorcycle. A Kymco Spade 150.
It’s a teeny little bike, 150cc, that looks like a toy when ridden by anyone taller than 5’4”, and it has a max speed of 65mph. It’s also my first motorcycle, and I absolutely love it.
The Problem
I still wanted bags, though. I wanted to carry stuff.
I wanted saddlebags for it, but I ran into this problem. There’s no saddlebag nor luggage mounting rack for this bike in particular. Well, there is one that exists, but it’s unavailable for purchase.
So I bought these bicycle saddlebags and, in lieu of a proper attachment point, just strapped them down to back of the seat.
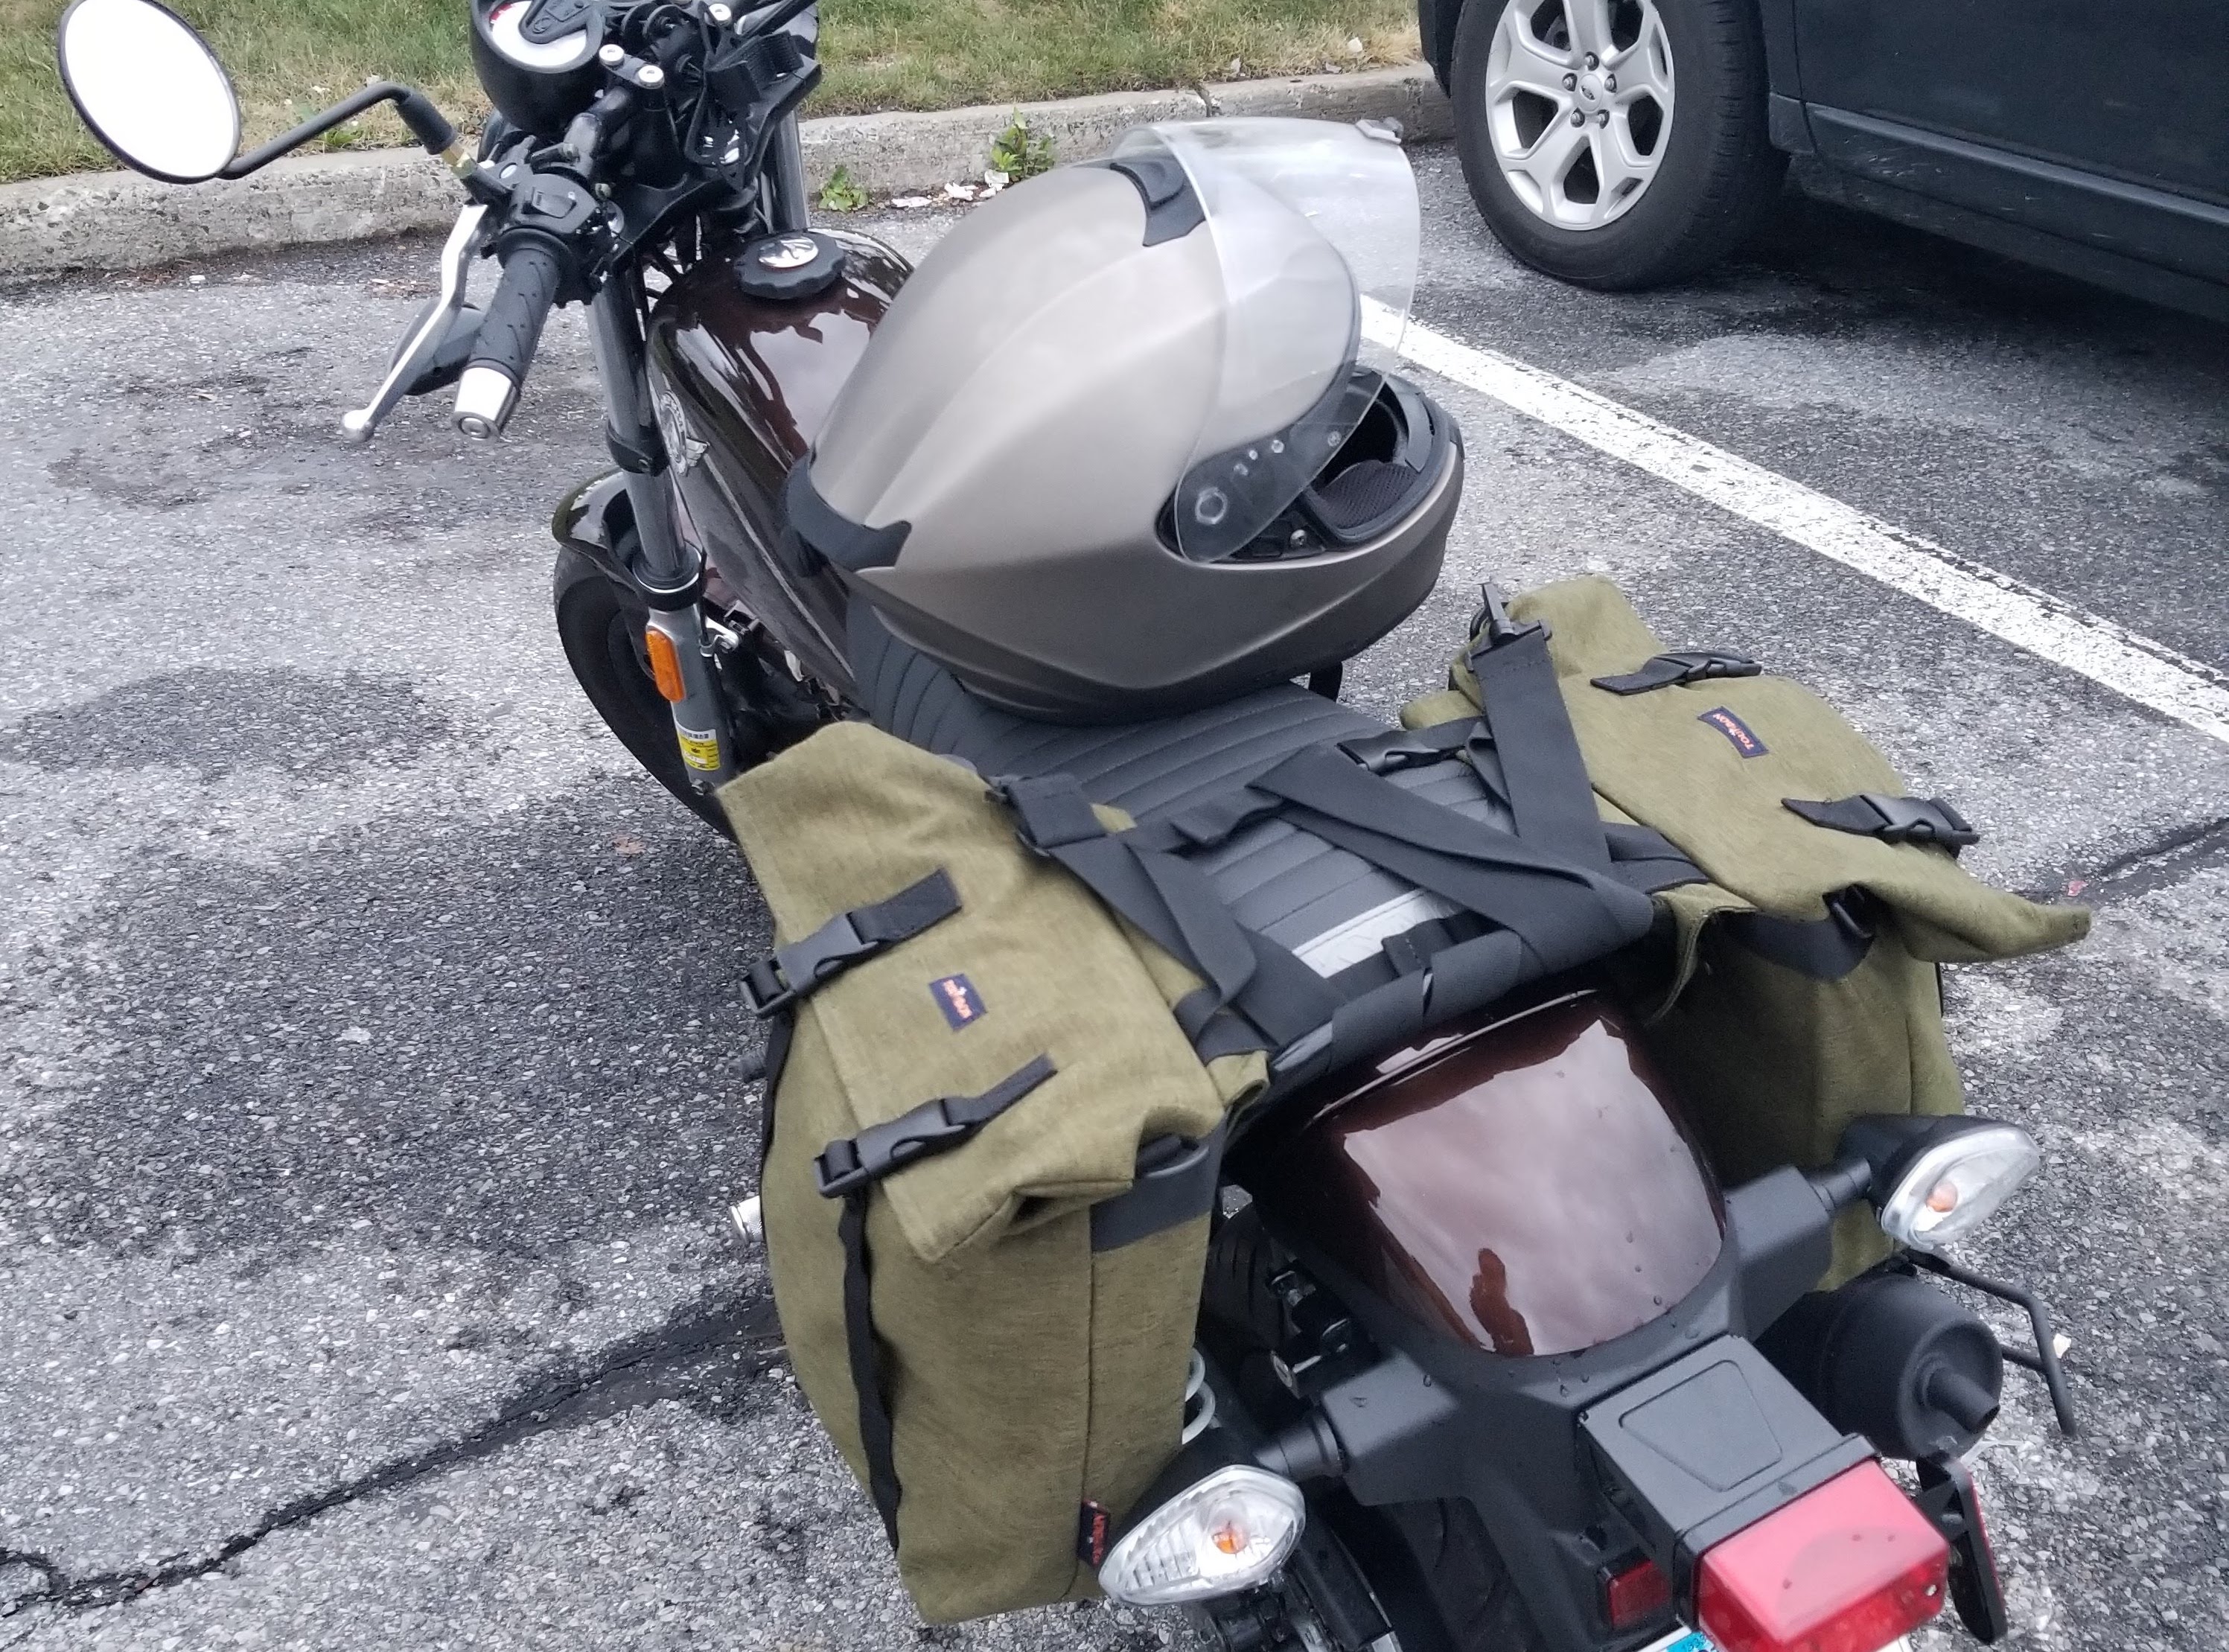
This served my purpose in that they stayed attached to the bike at high speeds, but it was tedious to wind the straps on to get going, and to unstrap them when I got to the store, and to restrap them when I finished my purchase. Rinse and repeat more than once if I was making multiple stops on an errand.
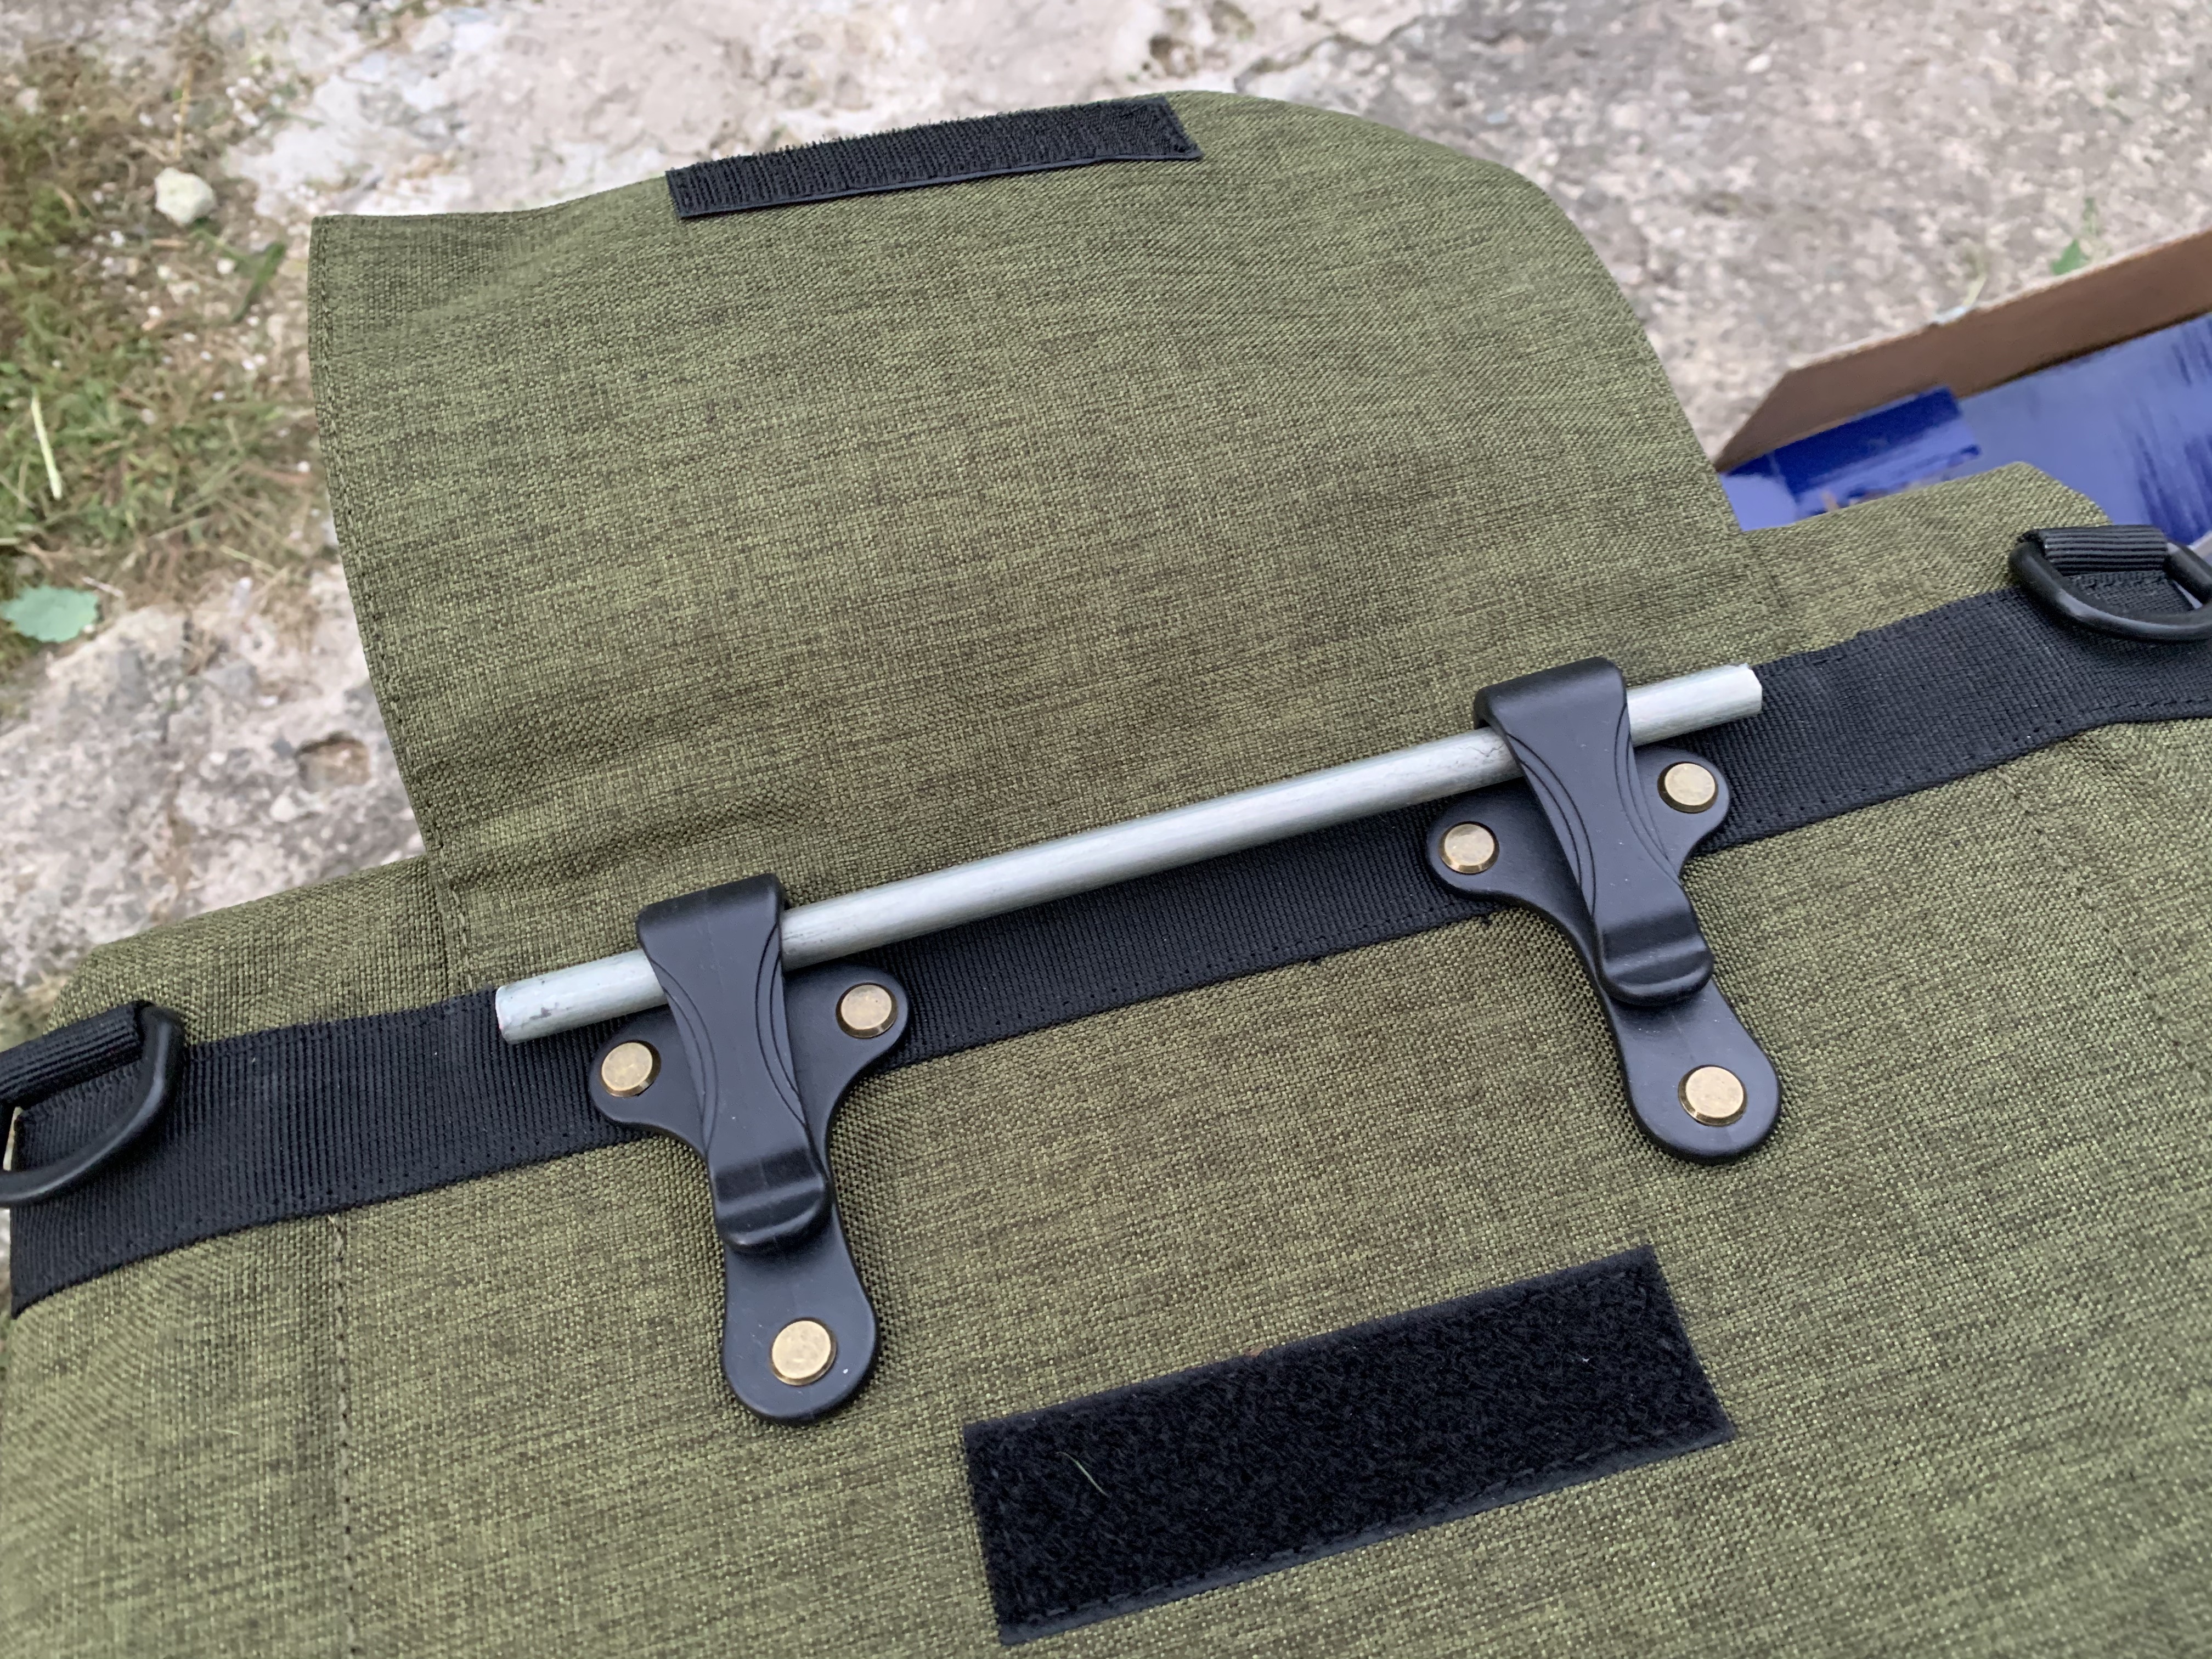
My bicycle bags actually came with clips, intended for clipping onto your bicycle pannier rack. I decided I would build a rack on my motorcycle for the bags to clip onto.
[picture of clips]
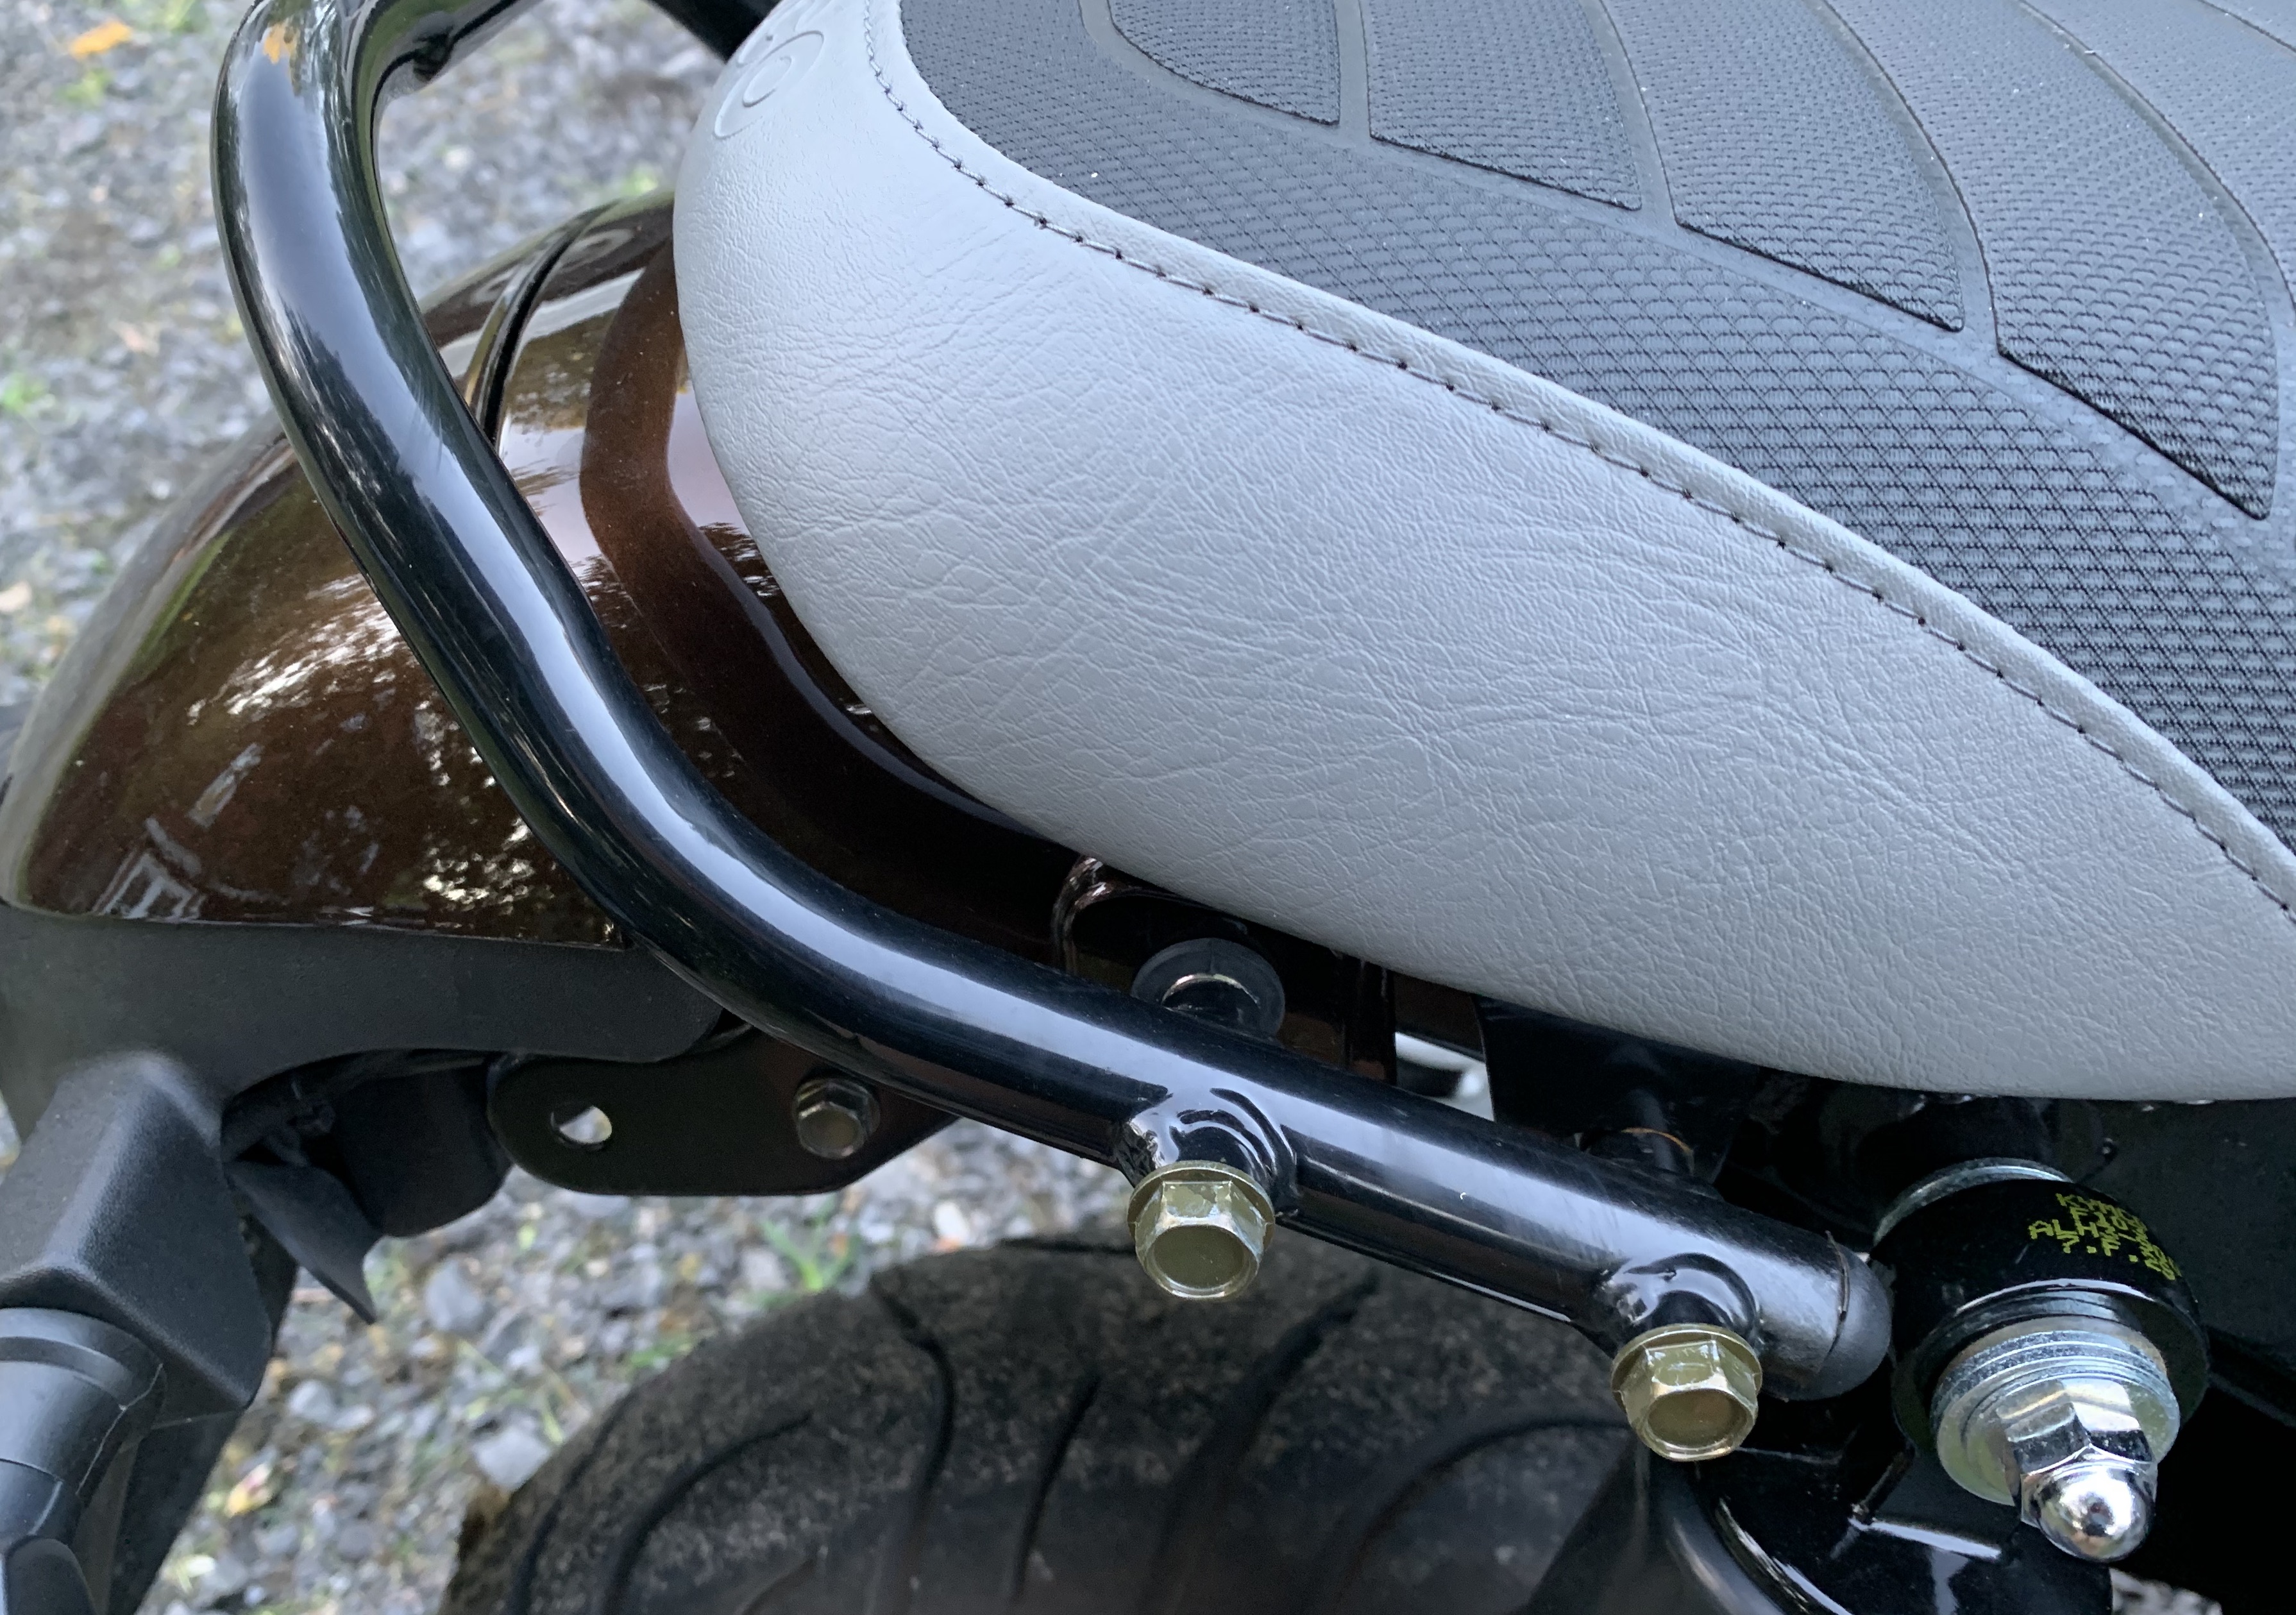
The idea would be to build something off these hex bolts that are built into the existing back frame, shown here.
Materials
So I headed to Lowe’s to get materials. Here’s the final bill of materials:
- 6-in zinc mending plate 4 @ $2.14ea = $8.56
- 3/8-in x 3ft plated steel rod 1 @ $6.18e = $6.18
- 5/16-in locking washers 4 @ $0.20ea = $0.80
- 5/16-in flat washers 4 @ $0.14ea = $0.56
- 3/8-in wire rope clip 4 @ $1.48ea = $5.96
Grand total for materials: $22.06 (+tax)
Tools Required:
- Hex wrenches
- Drill
- Dremel
- Tabletop vise
Rod cutting
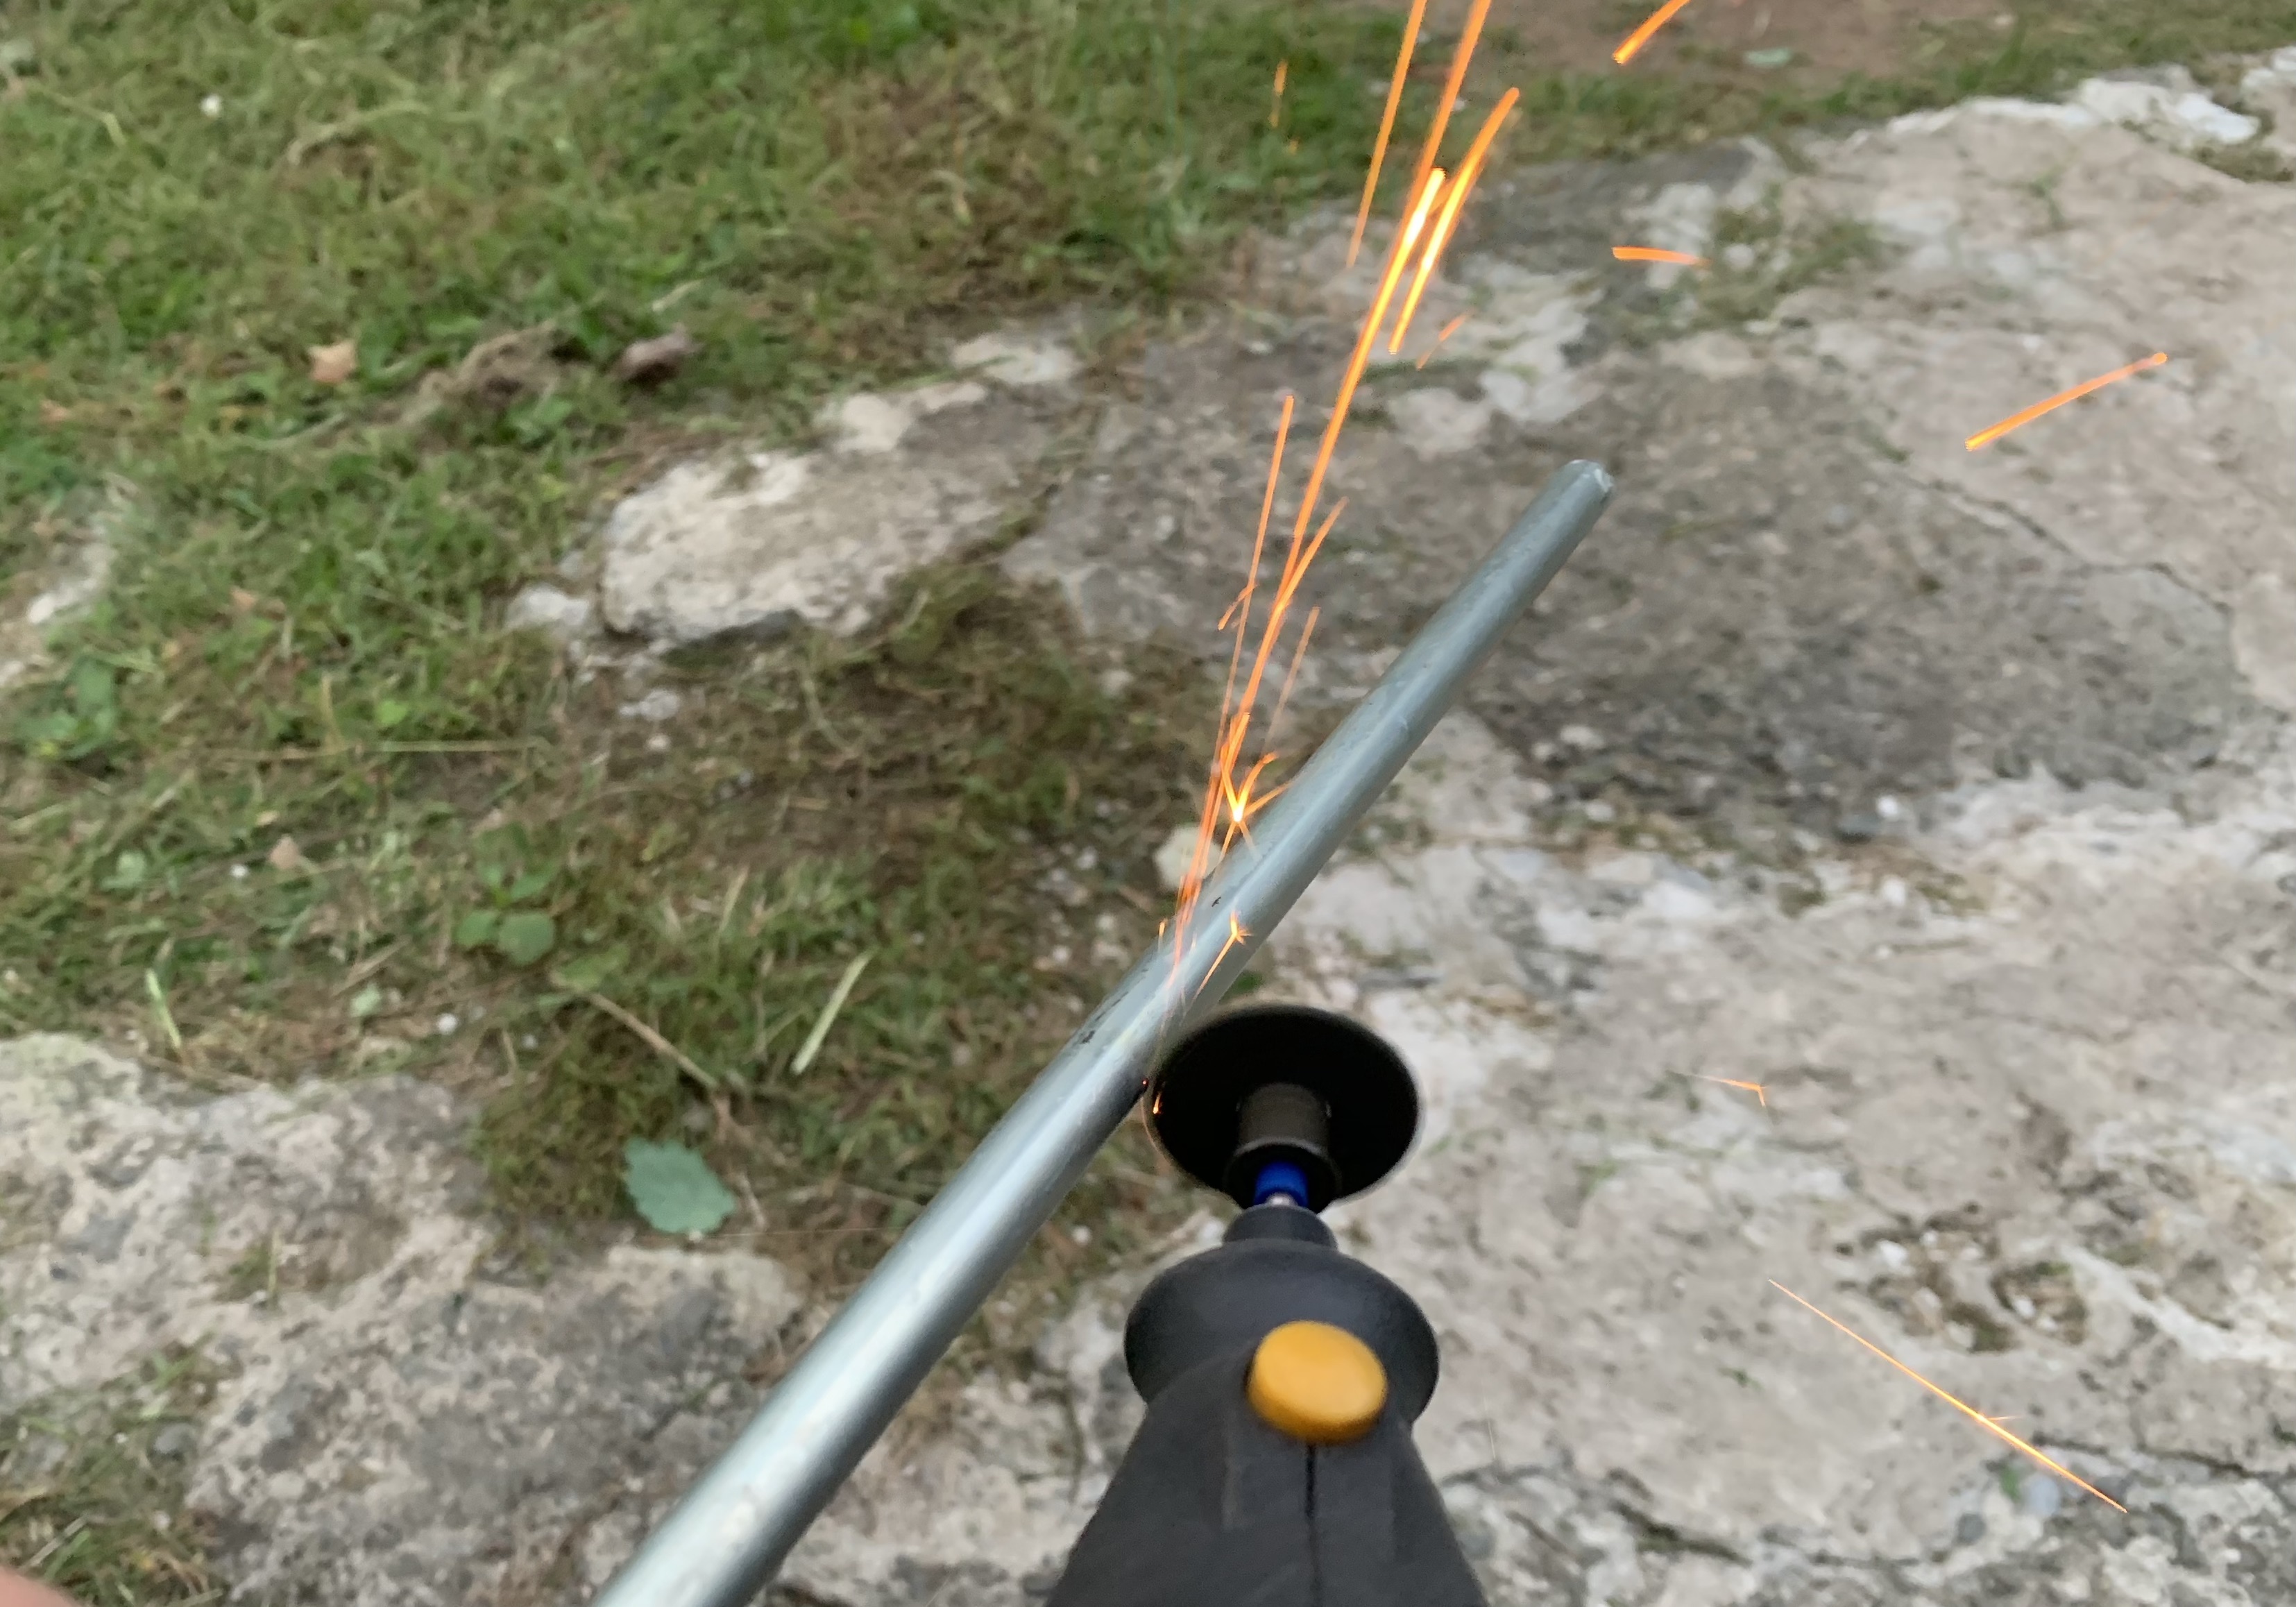
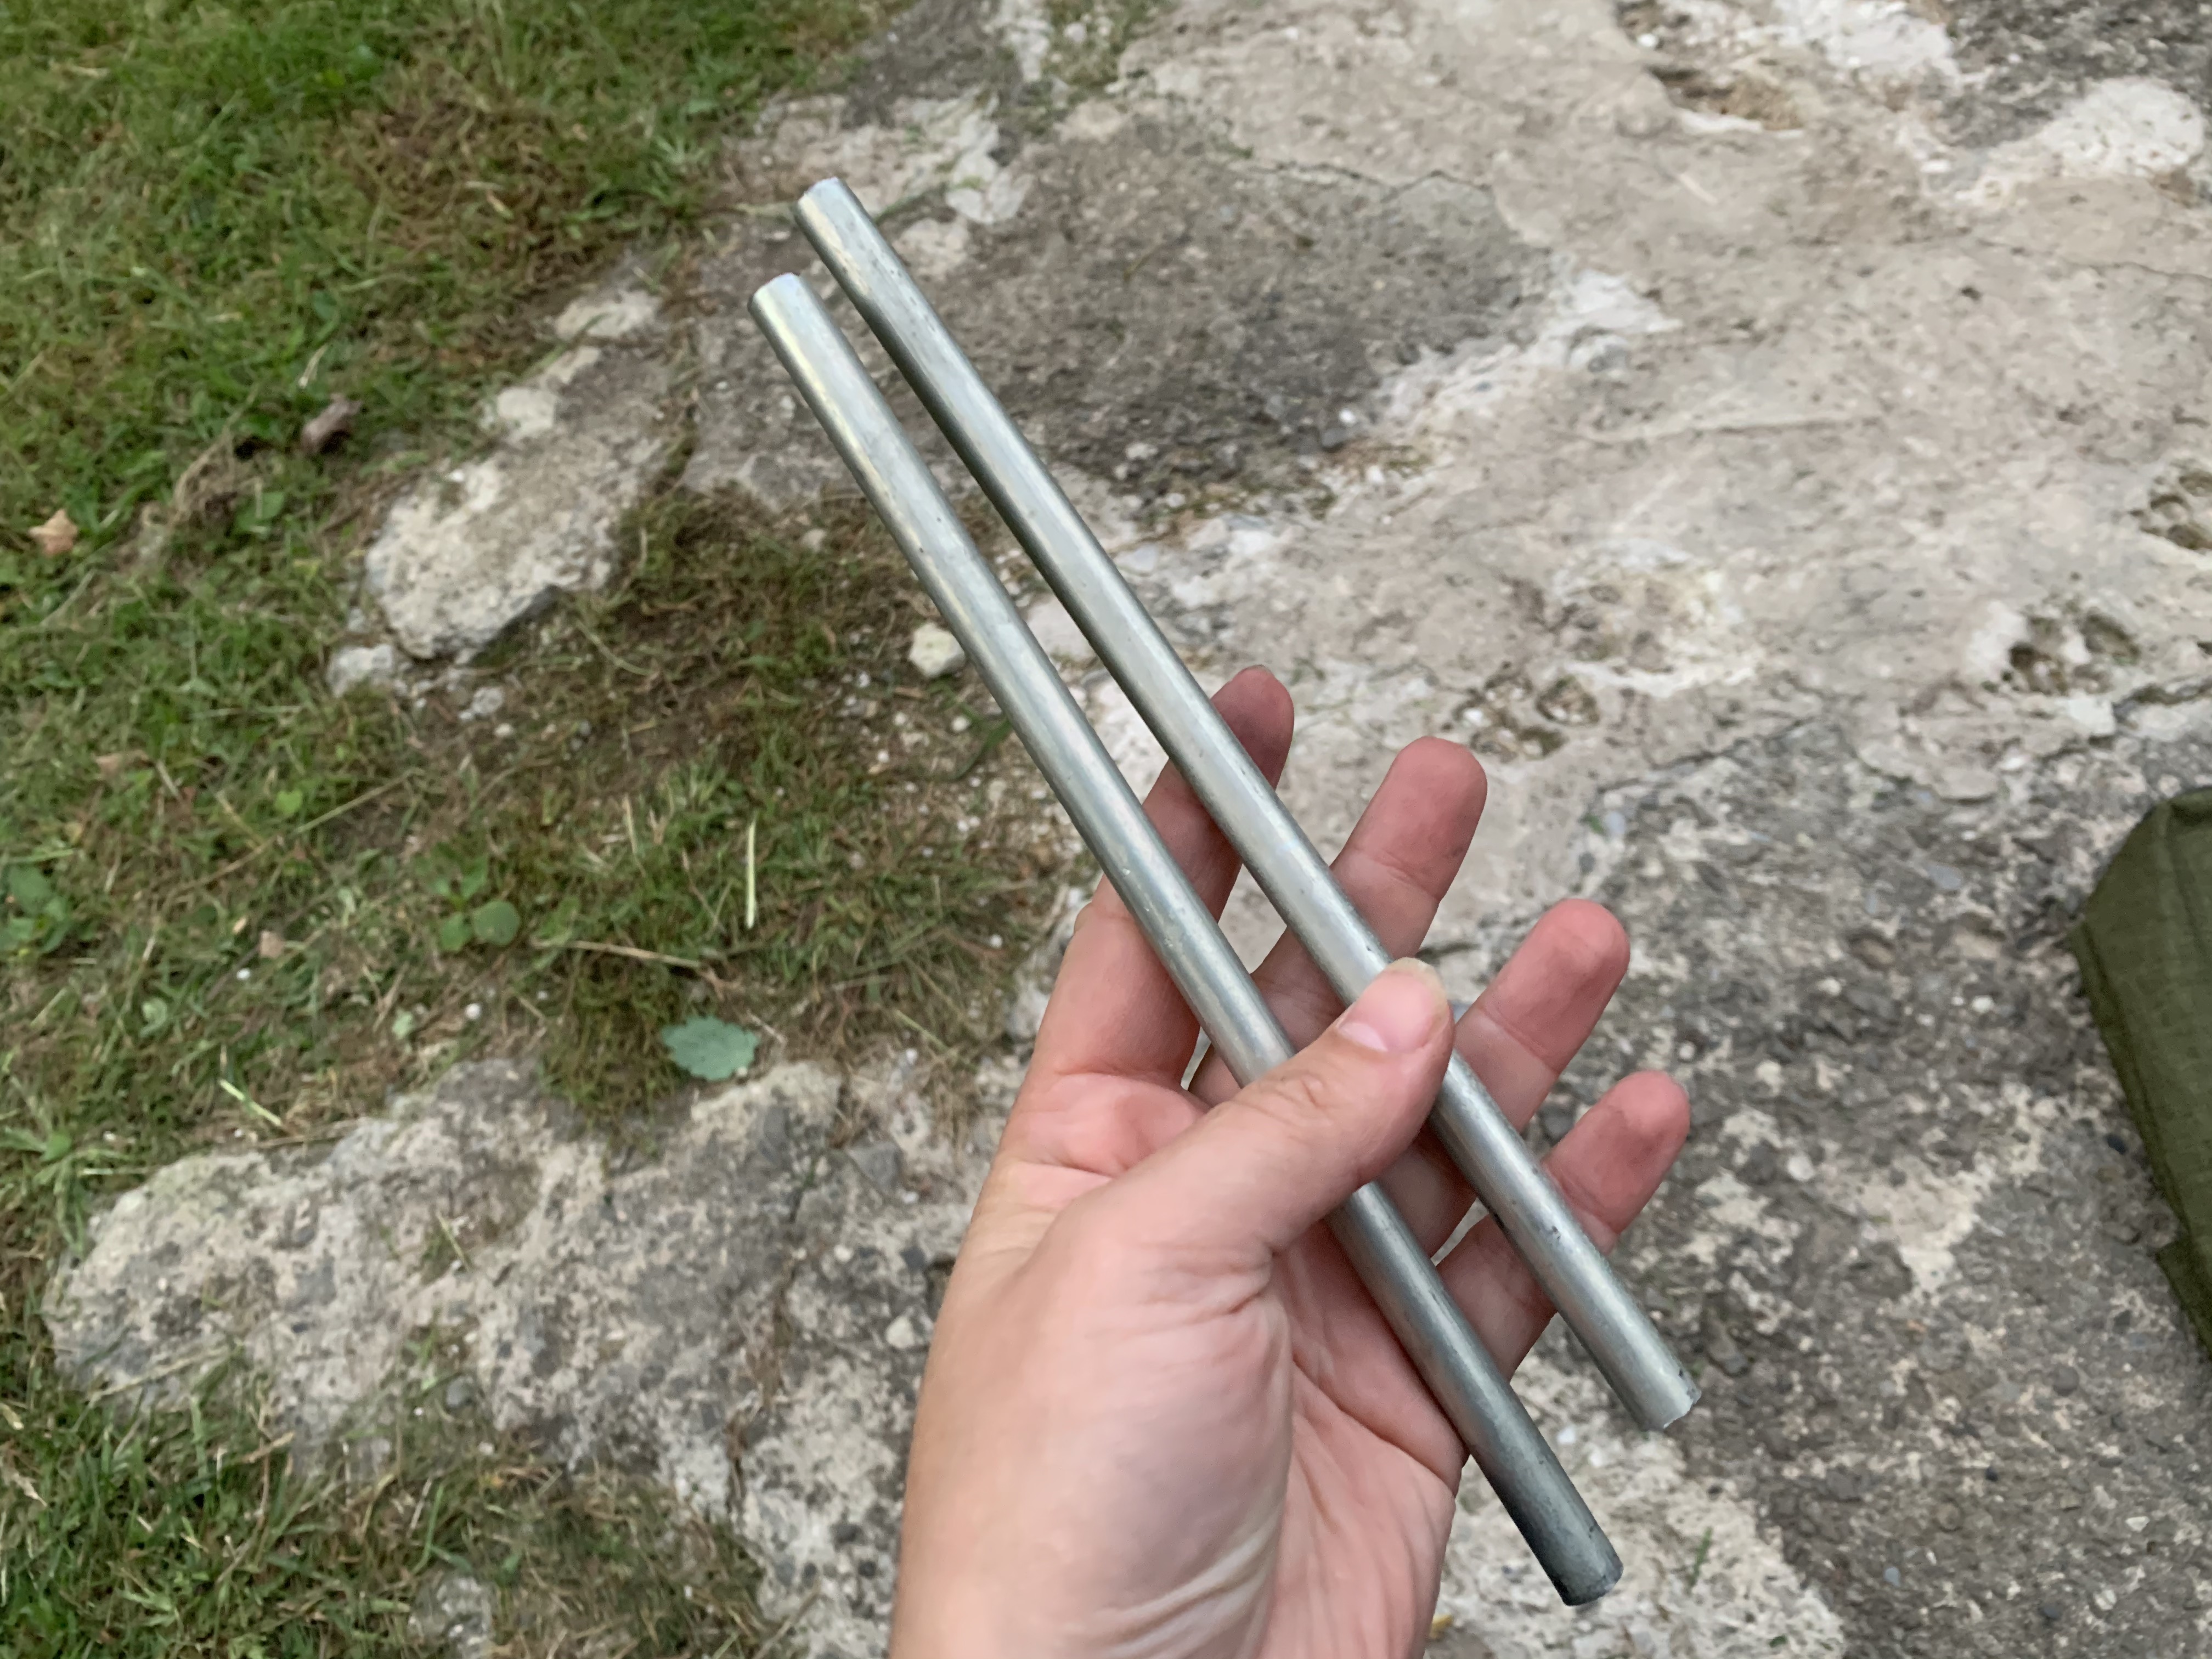
I needed one for each bag.
And they fit the bag clips perfectly!
Plate mounting
With the rods fit into place, the next thing to do was to prep the zinc plates that would be used as the primary mount to the bike.
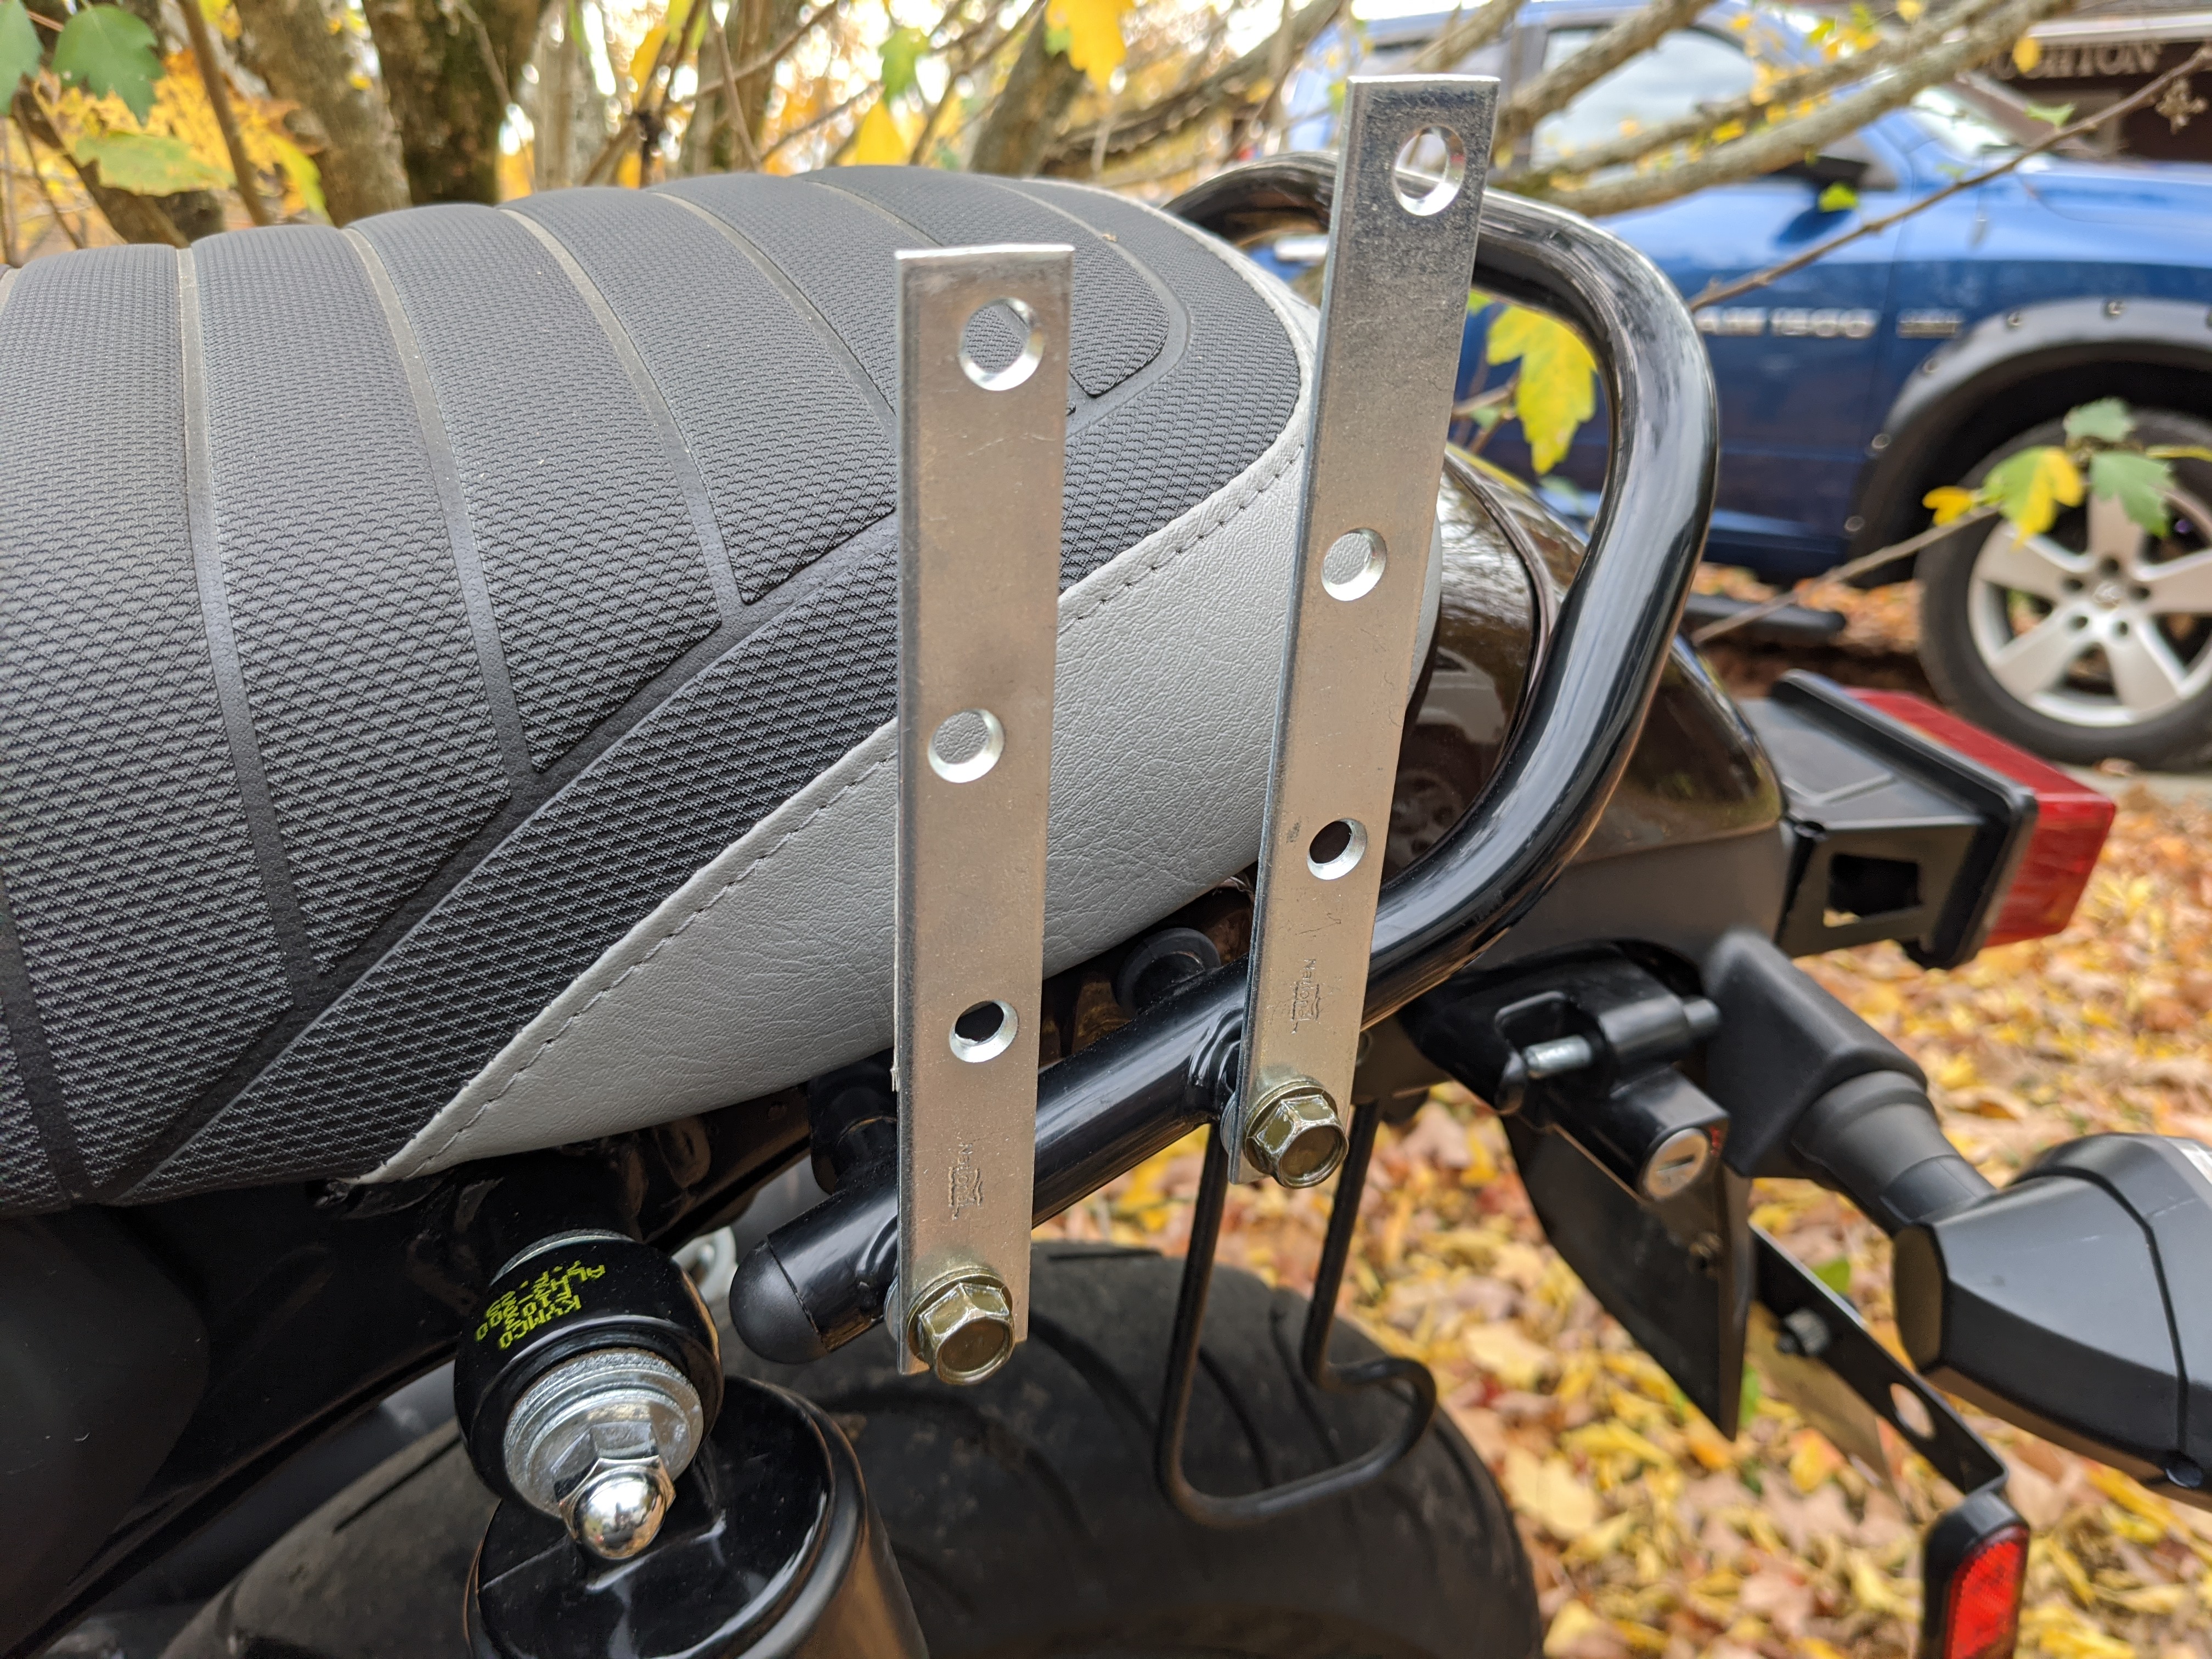
The 1/4in holes they came with were too small for the 5/16in bolt on my motorcycle, so I had to drill out the bottom hole to make it a bit bigger and get it attached. I used the flat and locking washers here to protect the motorcycle pieces and keep the mount secure.
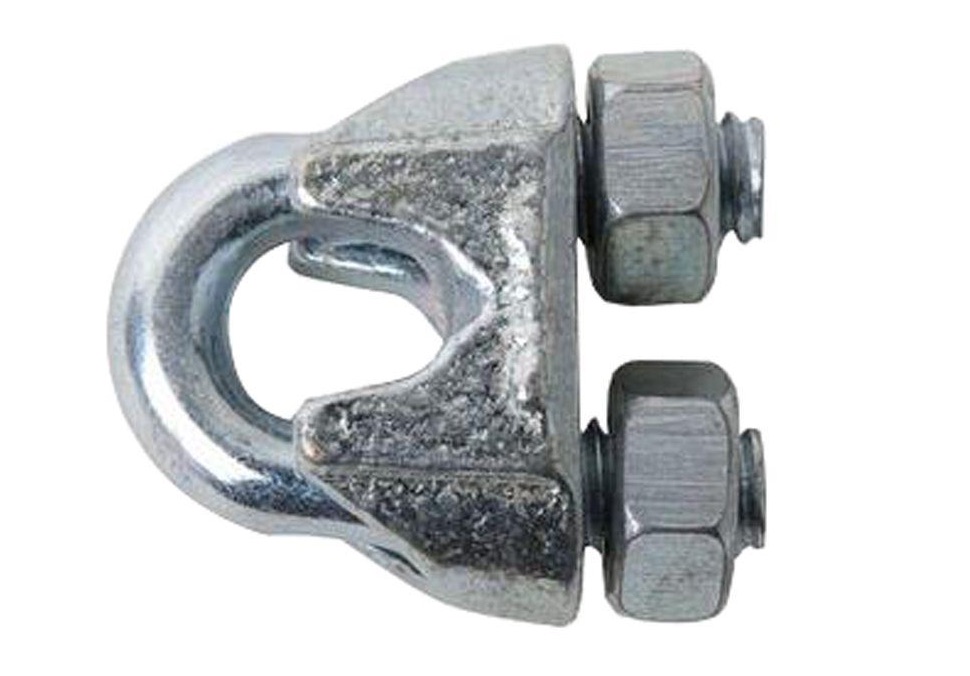
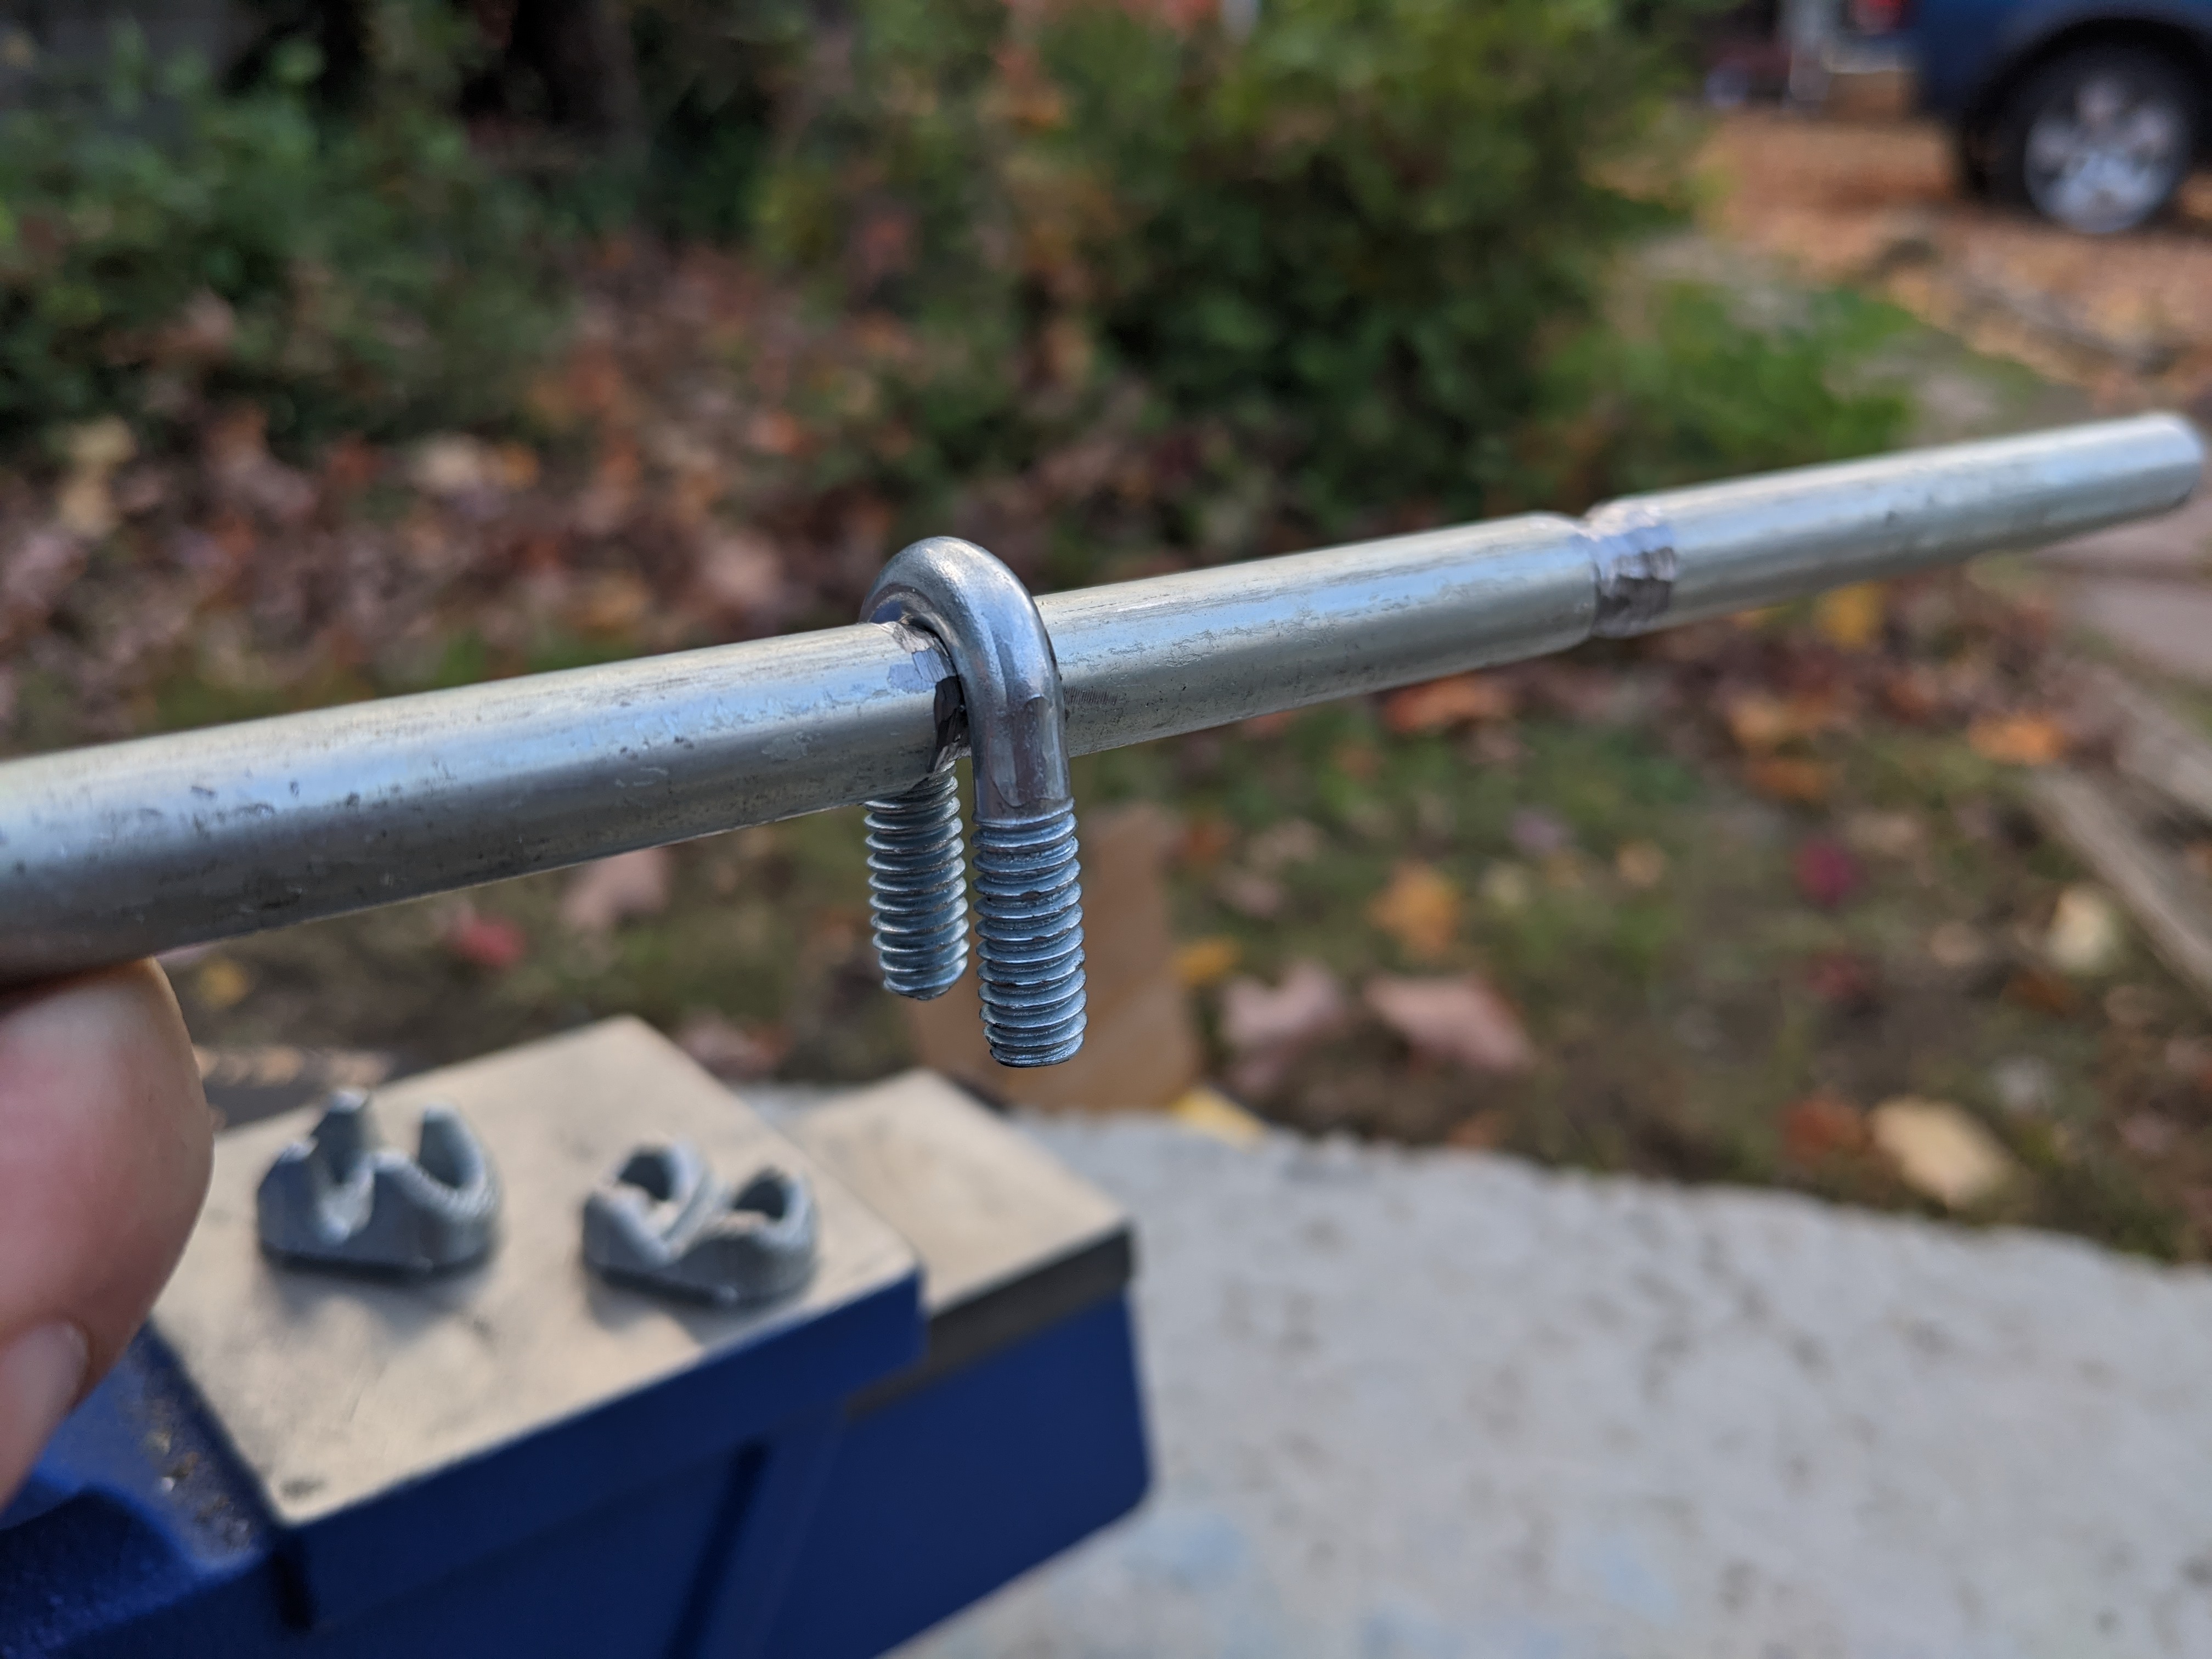
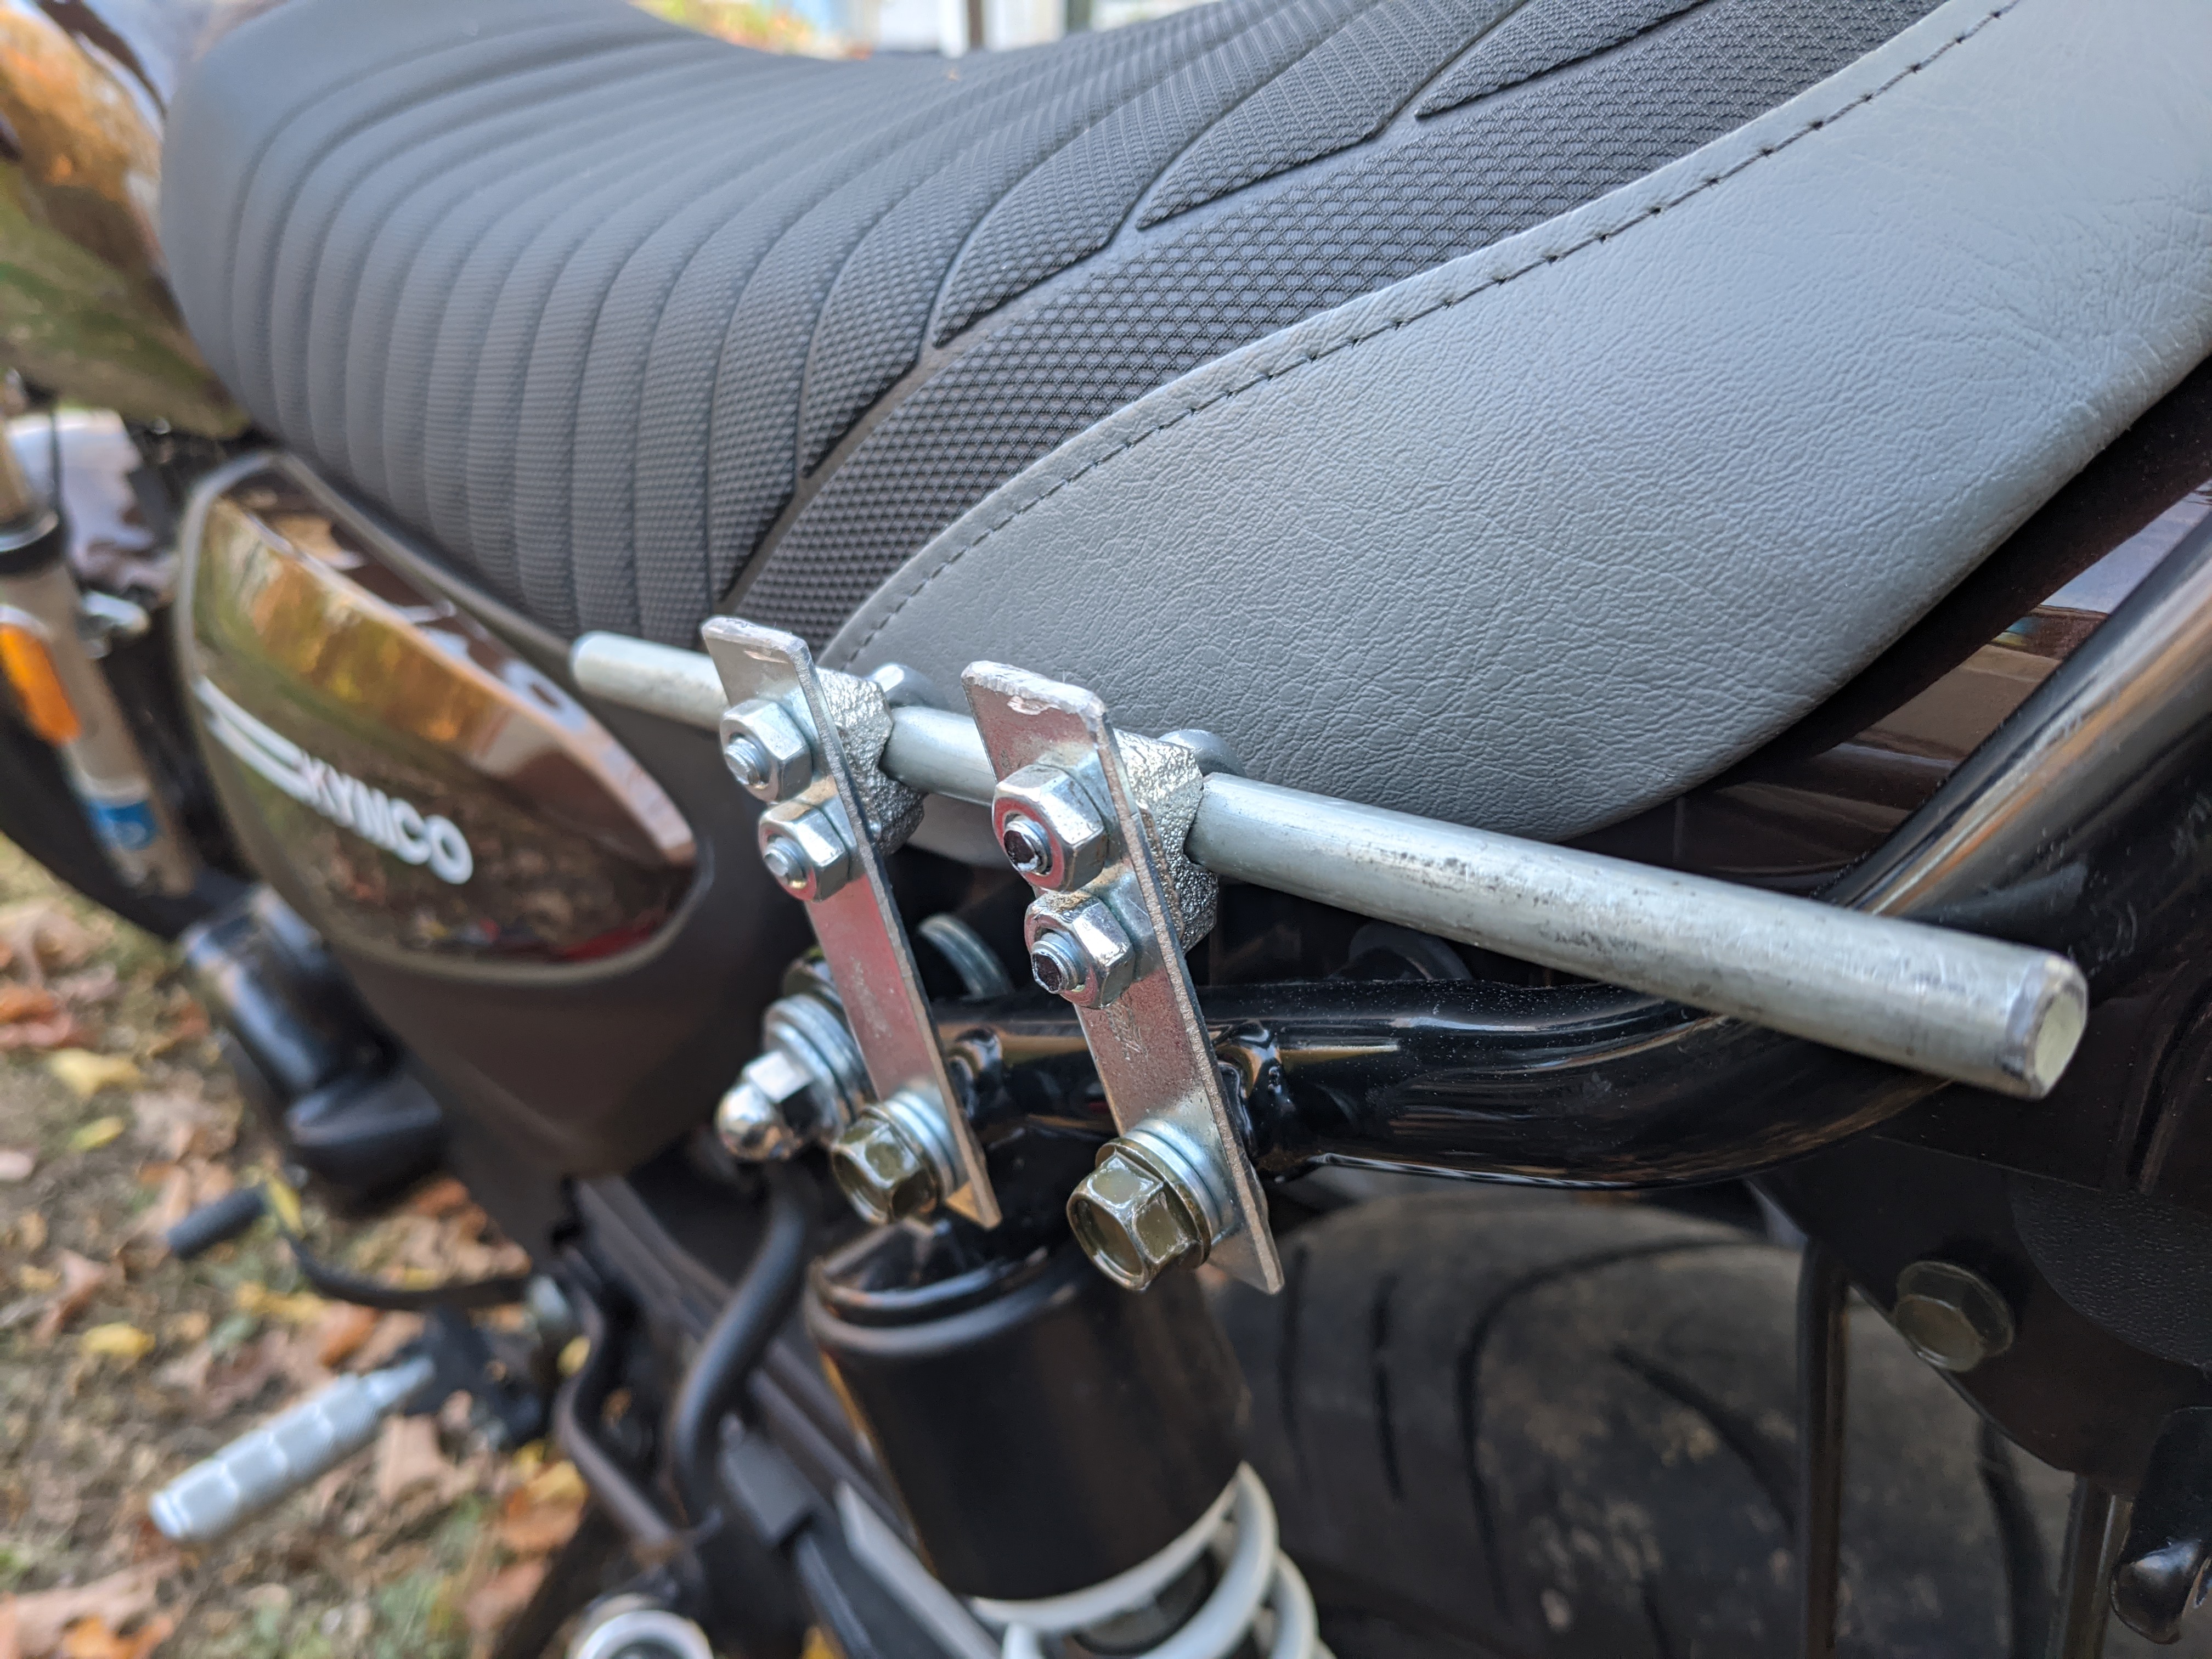
The goal was to mount the rod to these plates using the U-shaped cable clips, which would be bolted onto these plates.
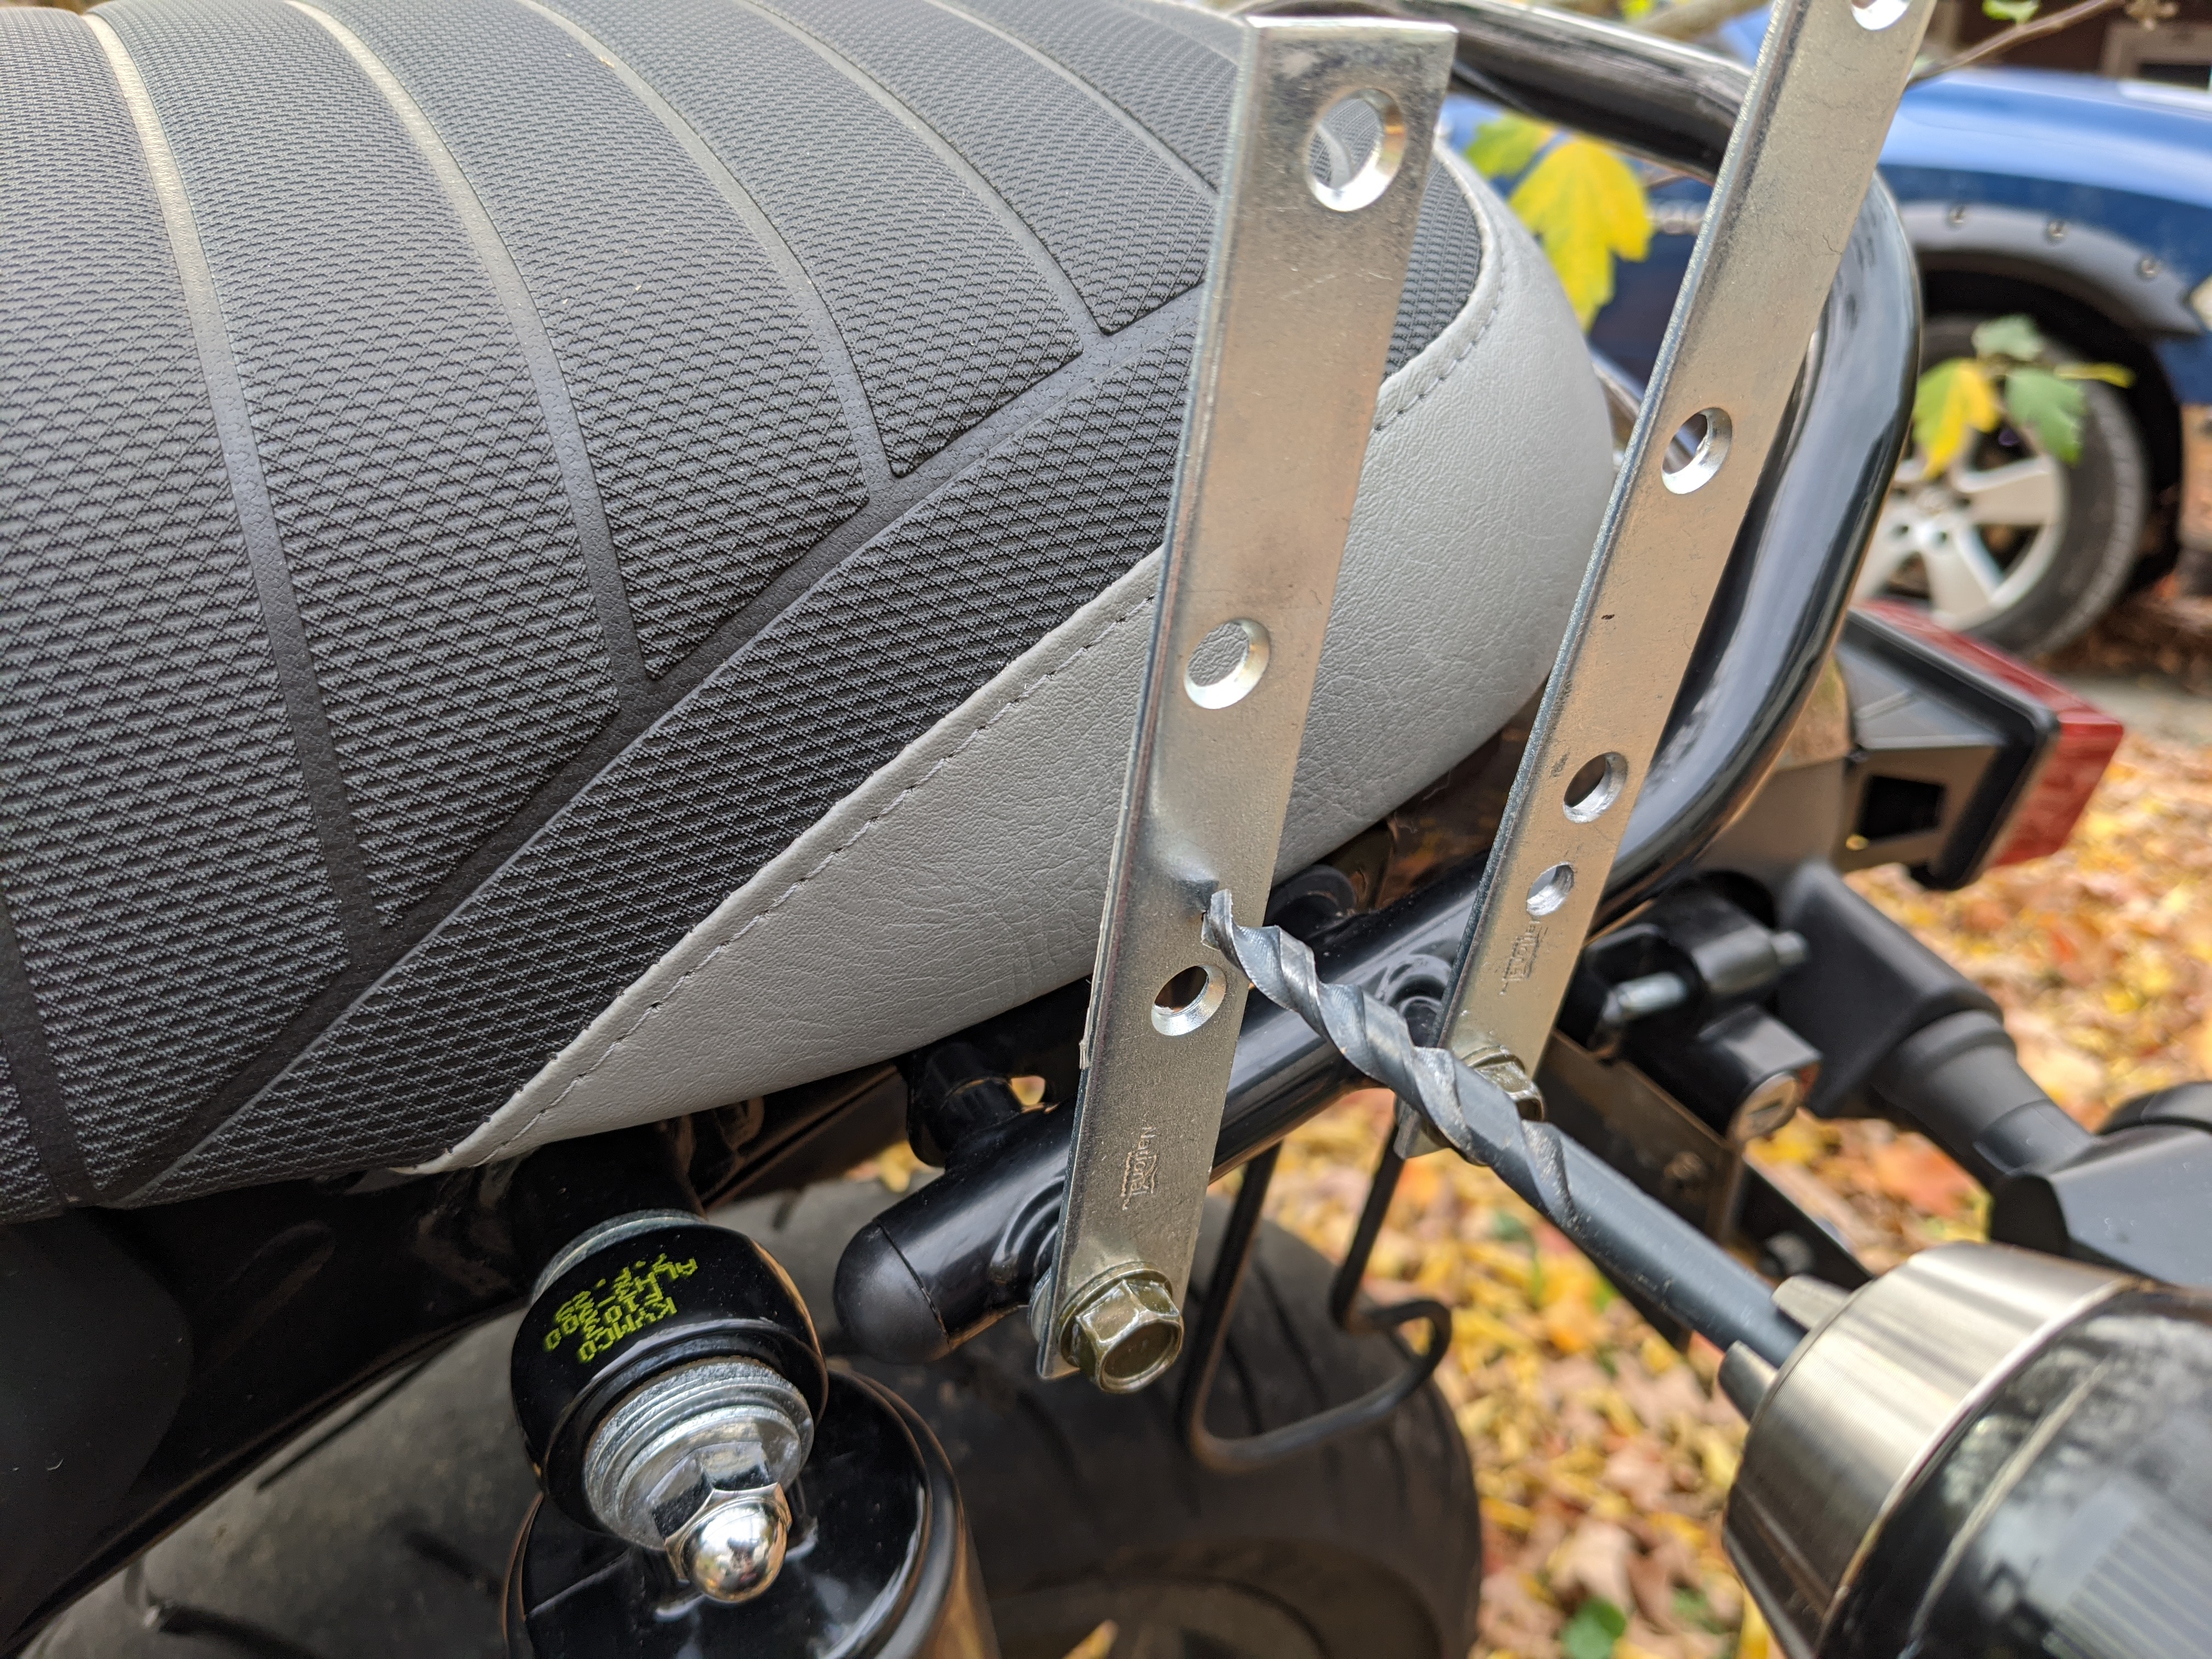
As you can see, it needs 2 holes in the plate for to be mounted. Since the mount points on the bike are not parallel to the ground, on one side I drilled the new hole above the existing hole, and drilled below on the other side, so that the clips would end up approximately level.
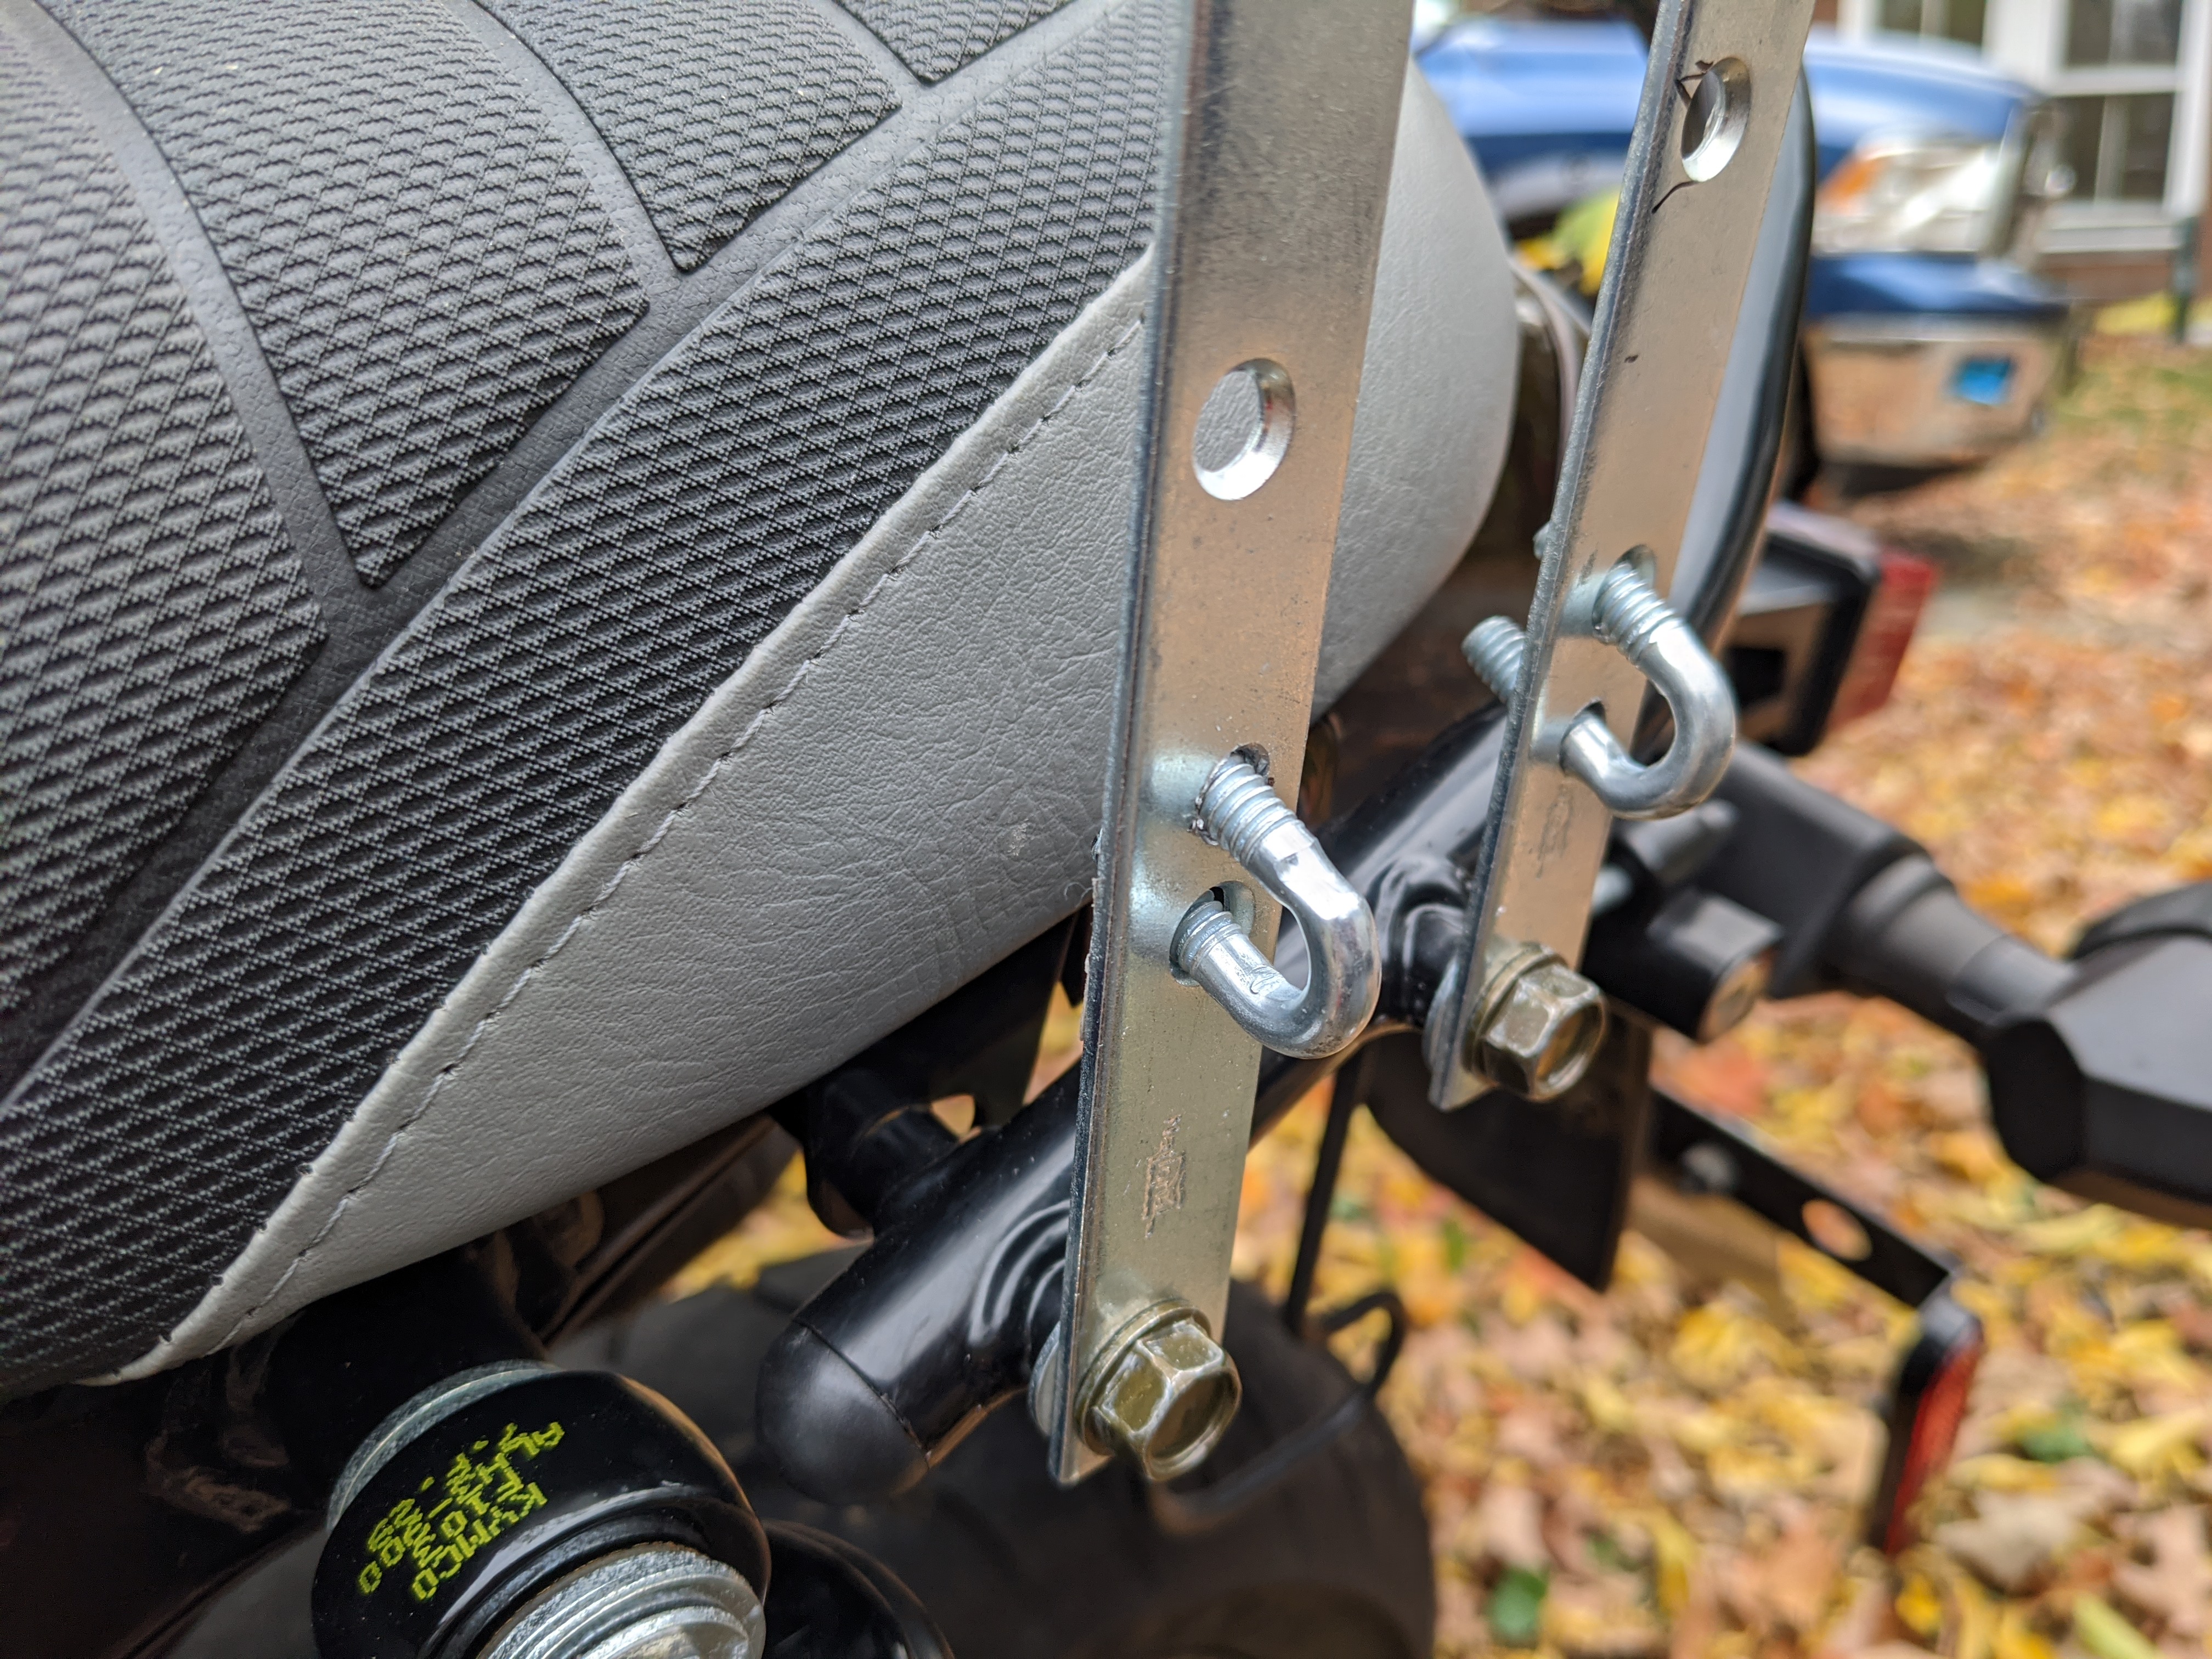
This worked, and the cable clips fit great!
Rod grinding
Next was to get the rod to fit into the clips. Because I’m using 3/8in steel rod and 3/8in cable clips, the rod did not fit into that U-shape. But that’s okay, because if it did, it would have slipped around in there.
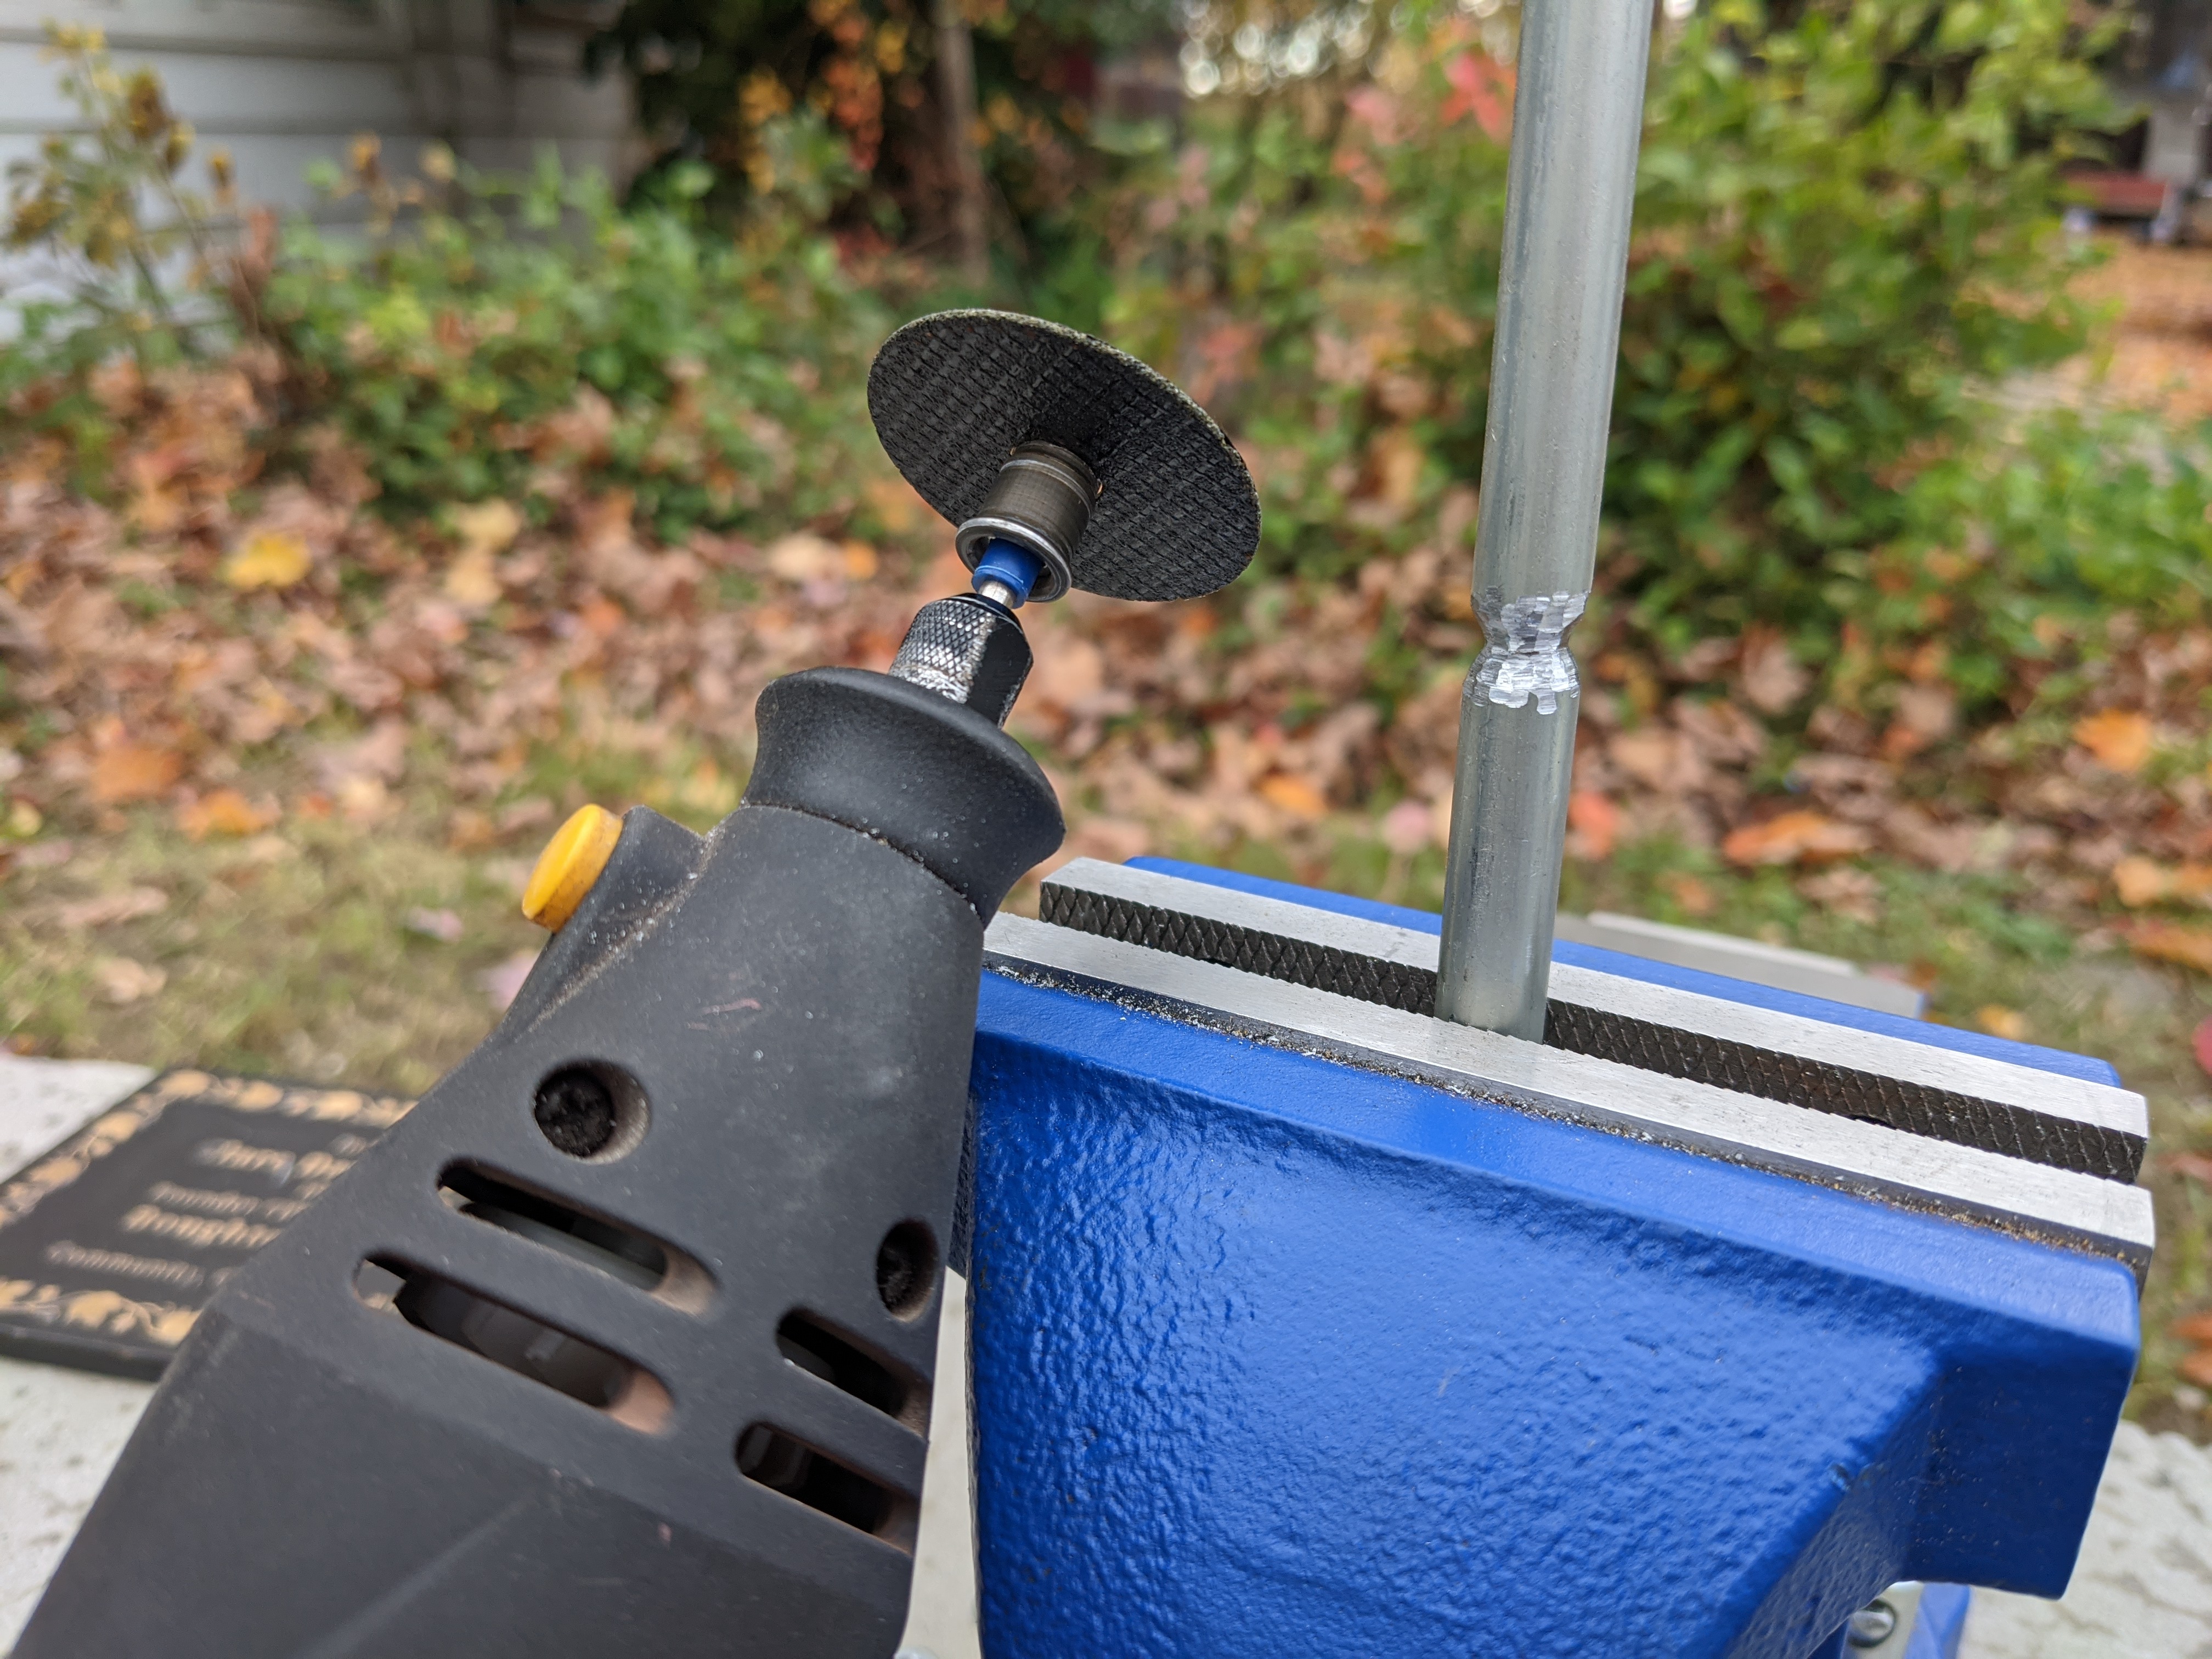
Instead, with the rod being slightly too large, I used the dremel to grind it down a bit right where I wanted it to fit into the clips. This would also serve the purpose of keeping it right in place.
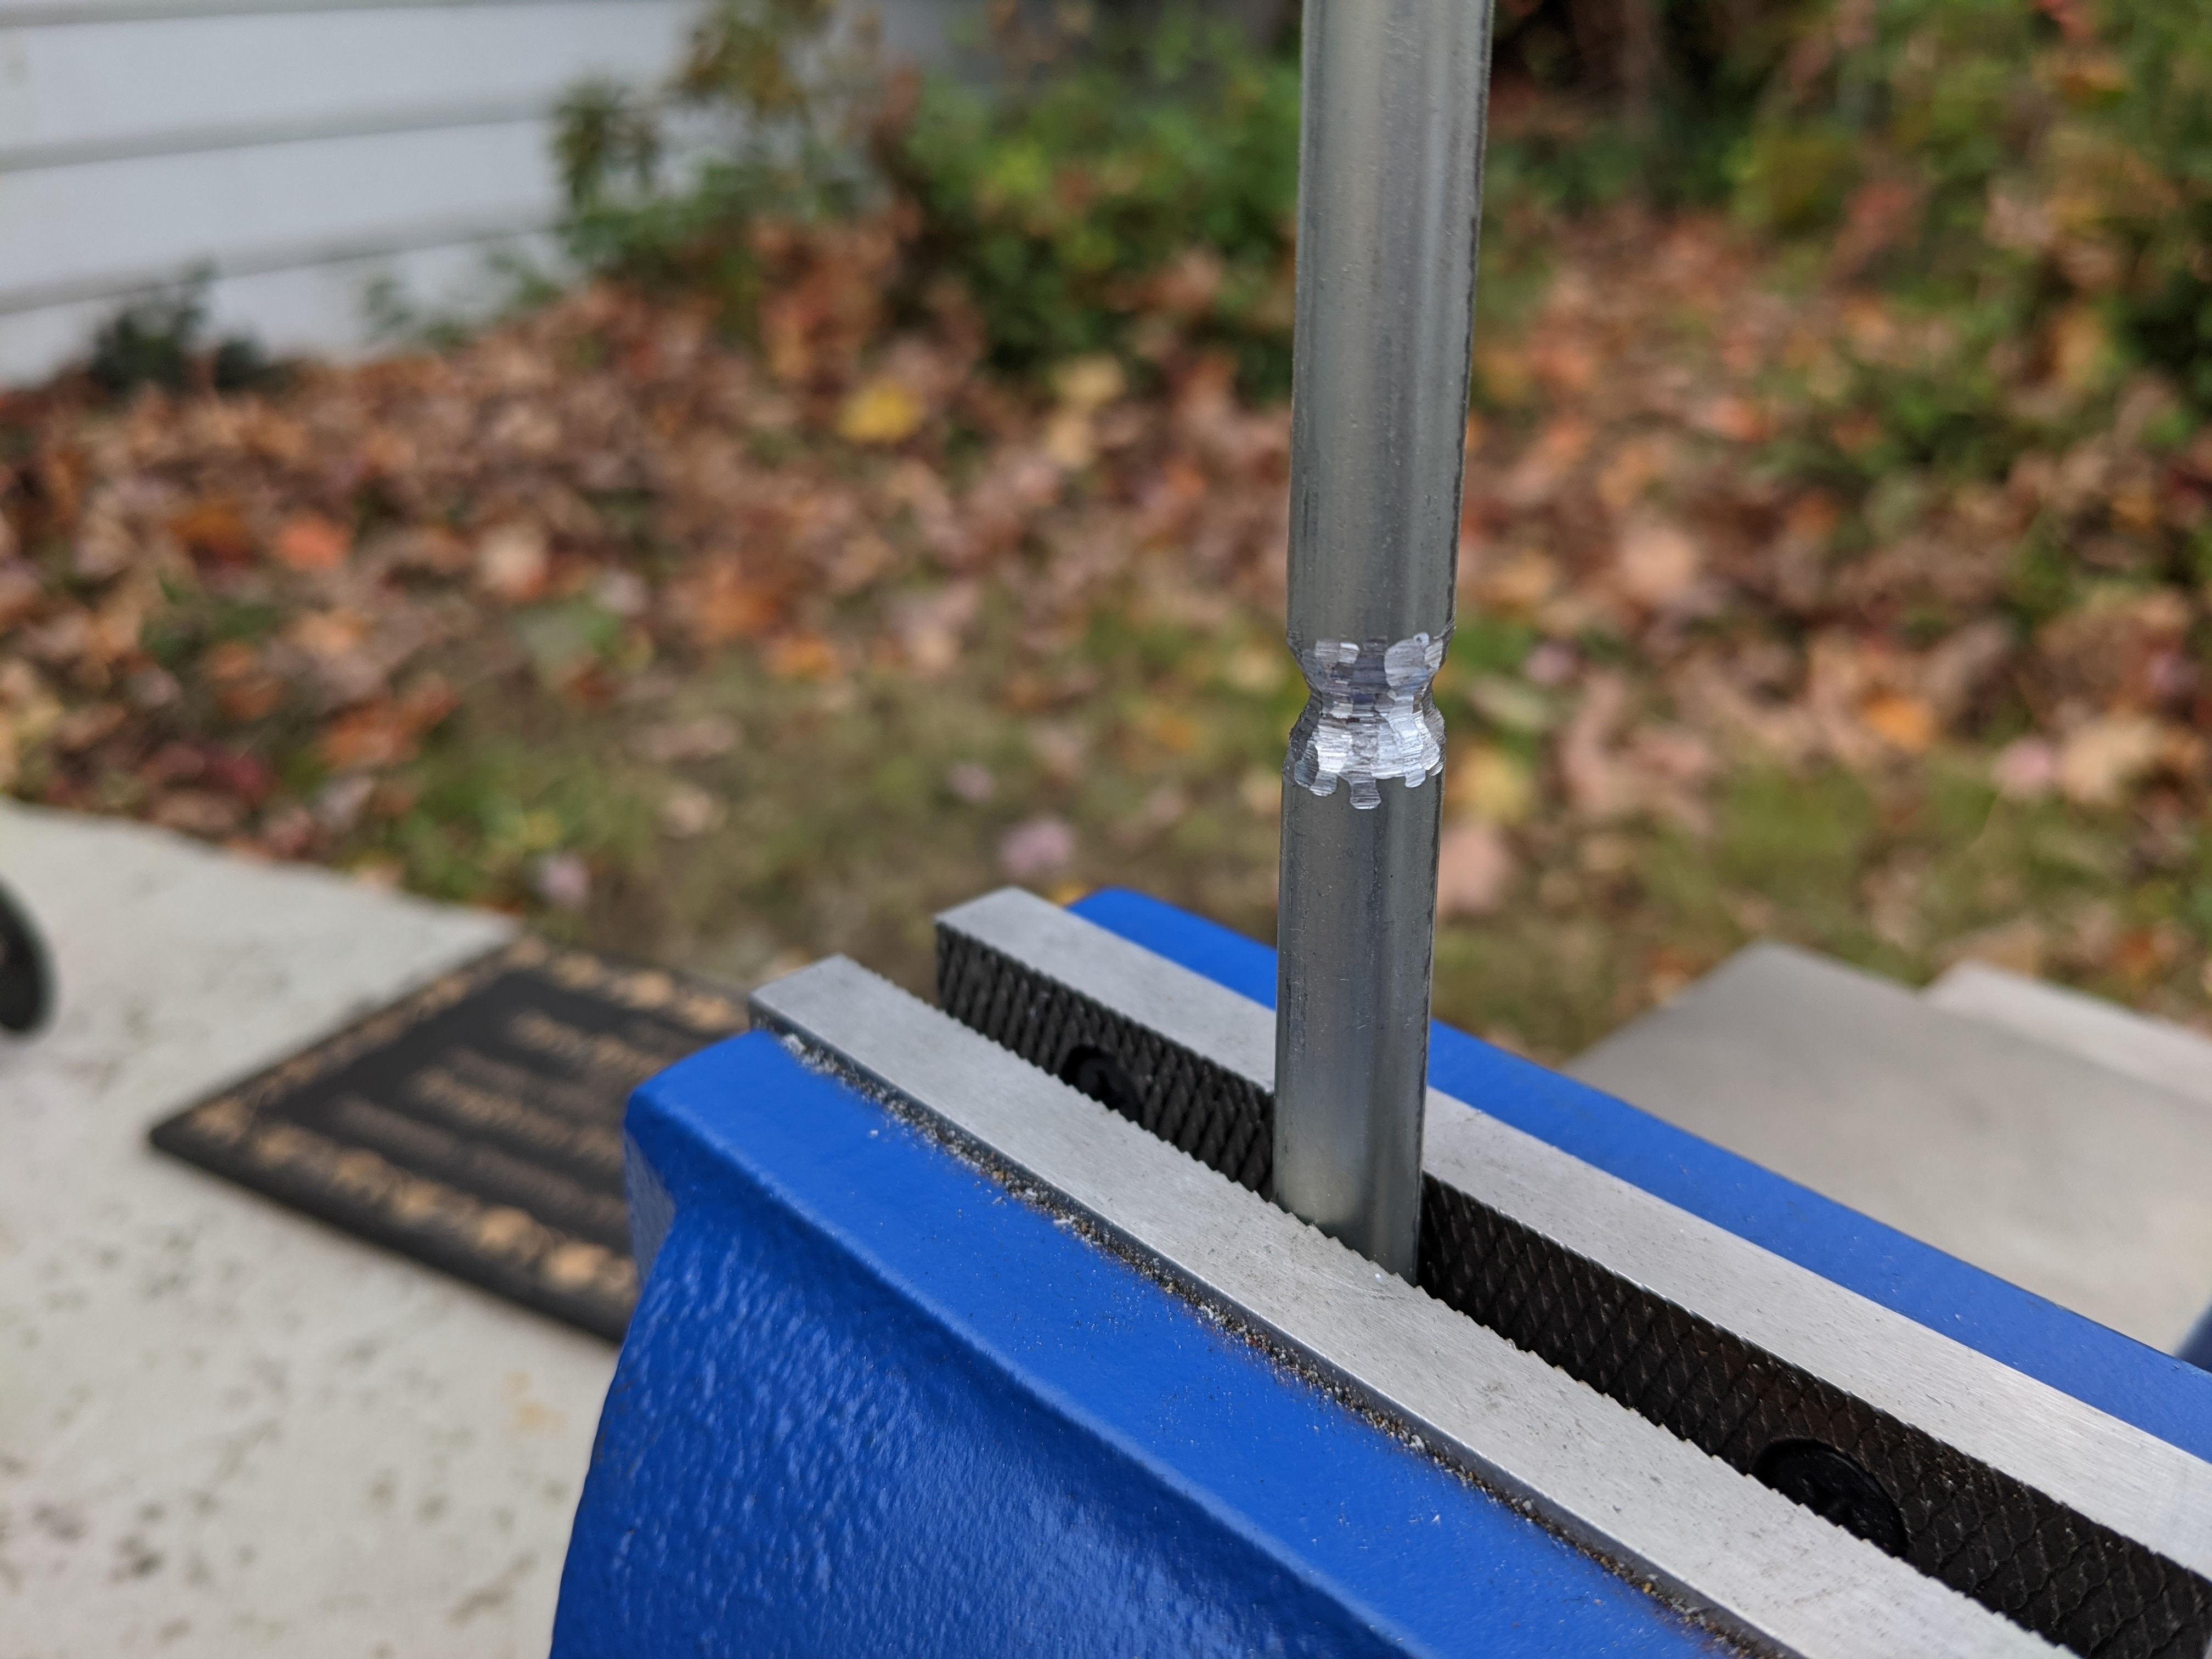
I enjoyed how the final result wound up looking like a “beaver tree”.
I ground down two beaver sections per rod, measured properly to be exactly the distance between the two mounting plates. It wasn’t an exact science - just using the dremel as a mini-lathe and testing with the clamp every so often, stopping when it finally could snugly fit right onto the rod.
Saddle grinding
Next, I needed to adjust the saddle of the cable clamp. It was made for wire rope, after all. But for me, the default shape of the saddle was pretty much useless in securing the rod snugly.

See all that extra space, and the minimal surface area of rod in contact with saddle:
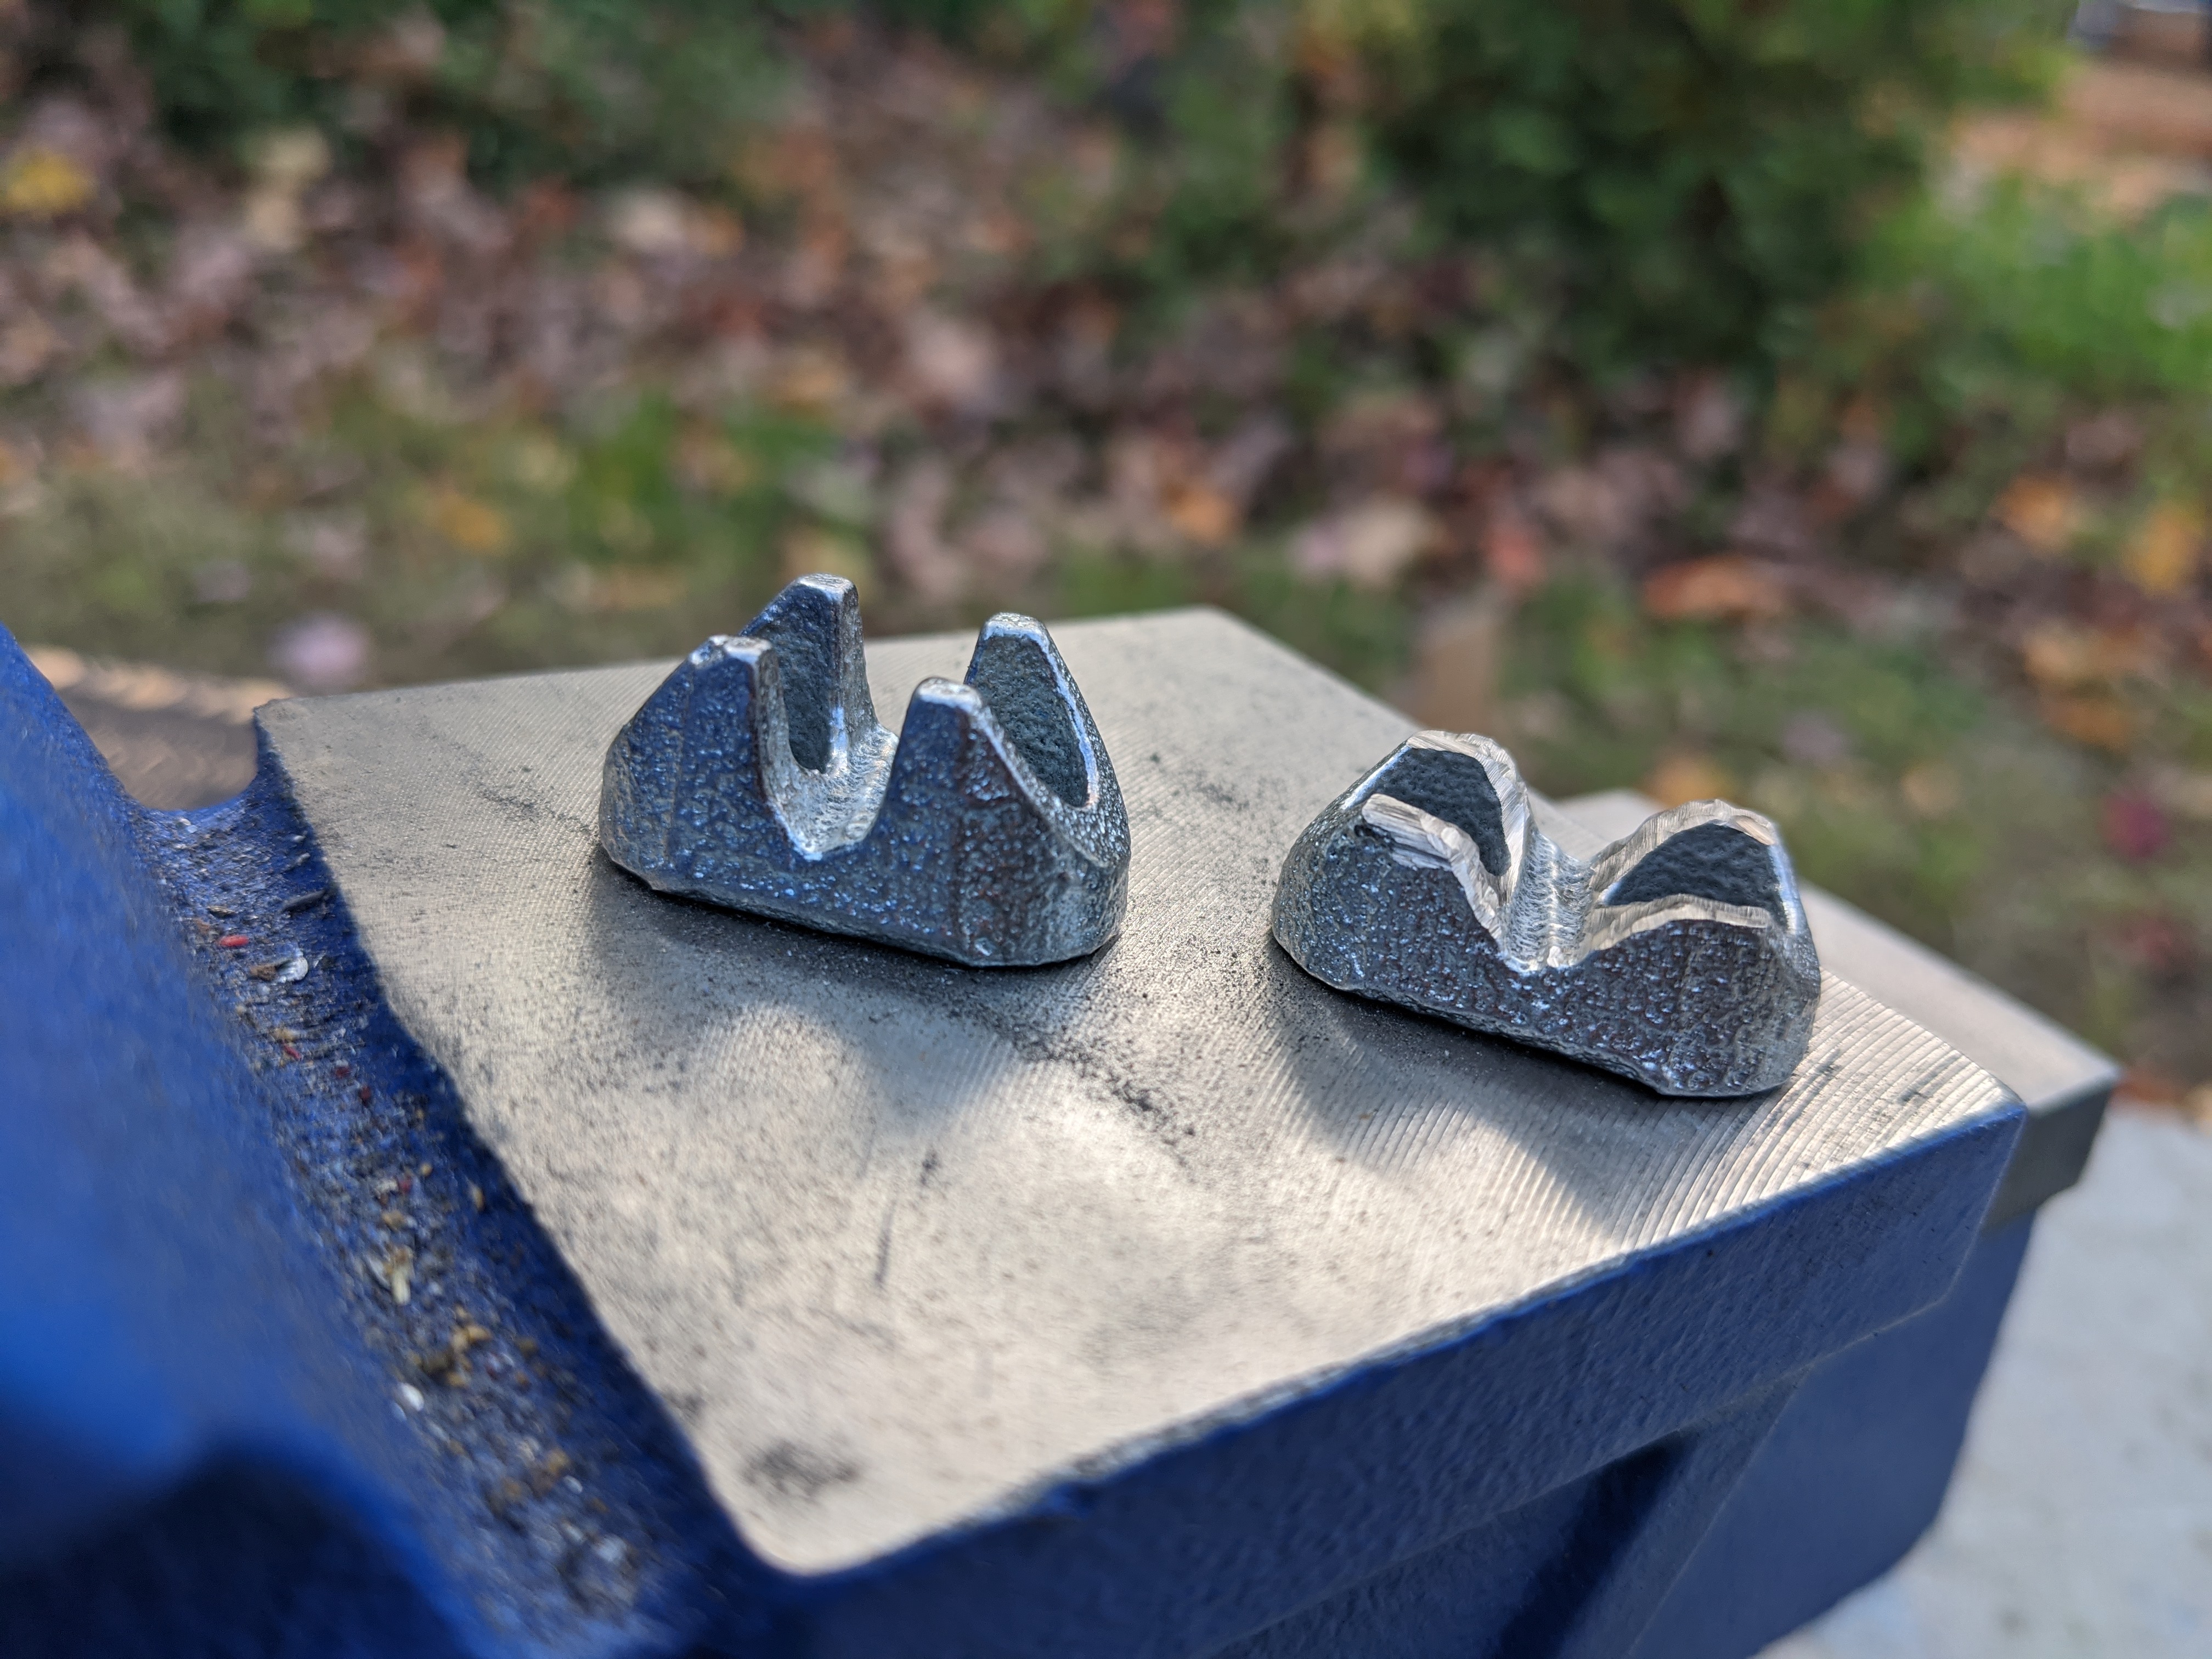
I used the dremel again to grind down the saddle into a more comfortable resting piece for the rod. See the before and after.

This resulted in a much more snug fit for the rod, and much more secure in place:
Final touches
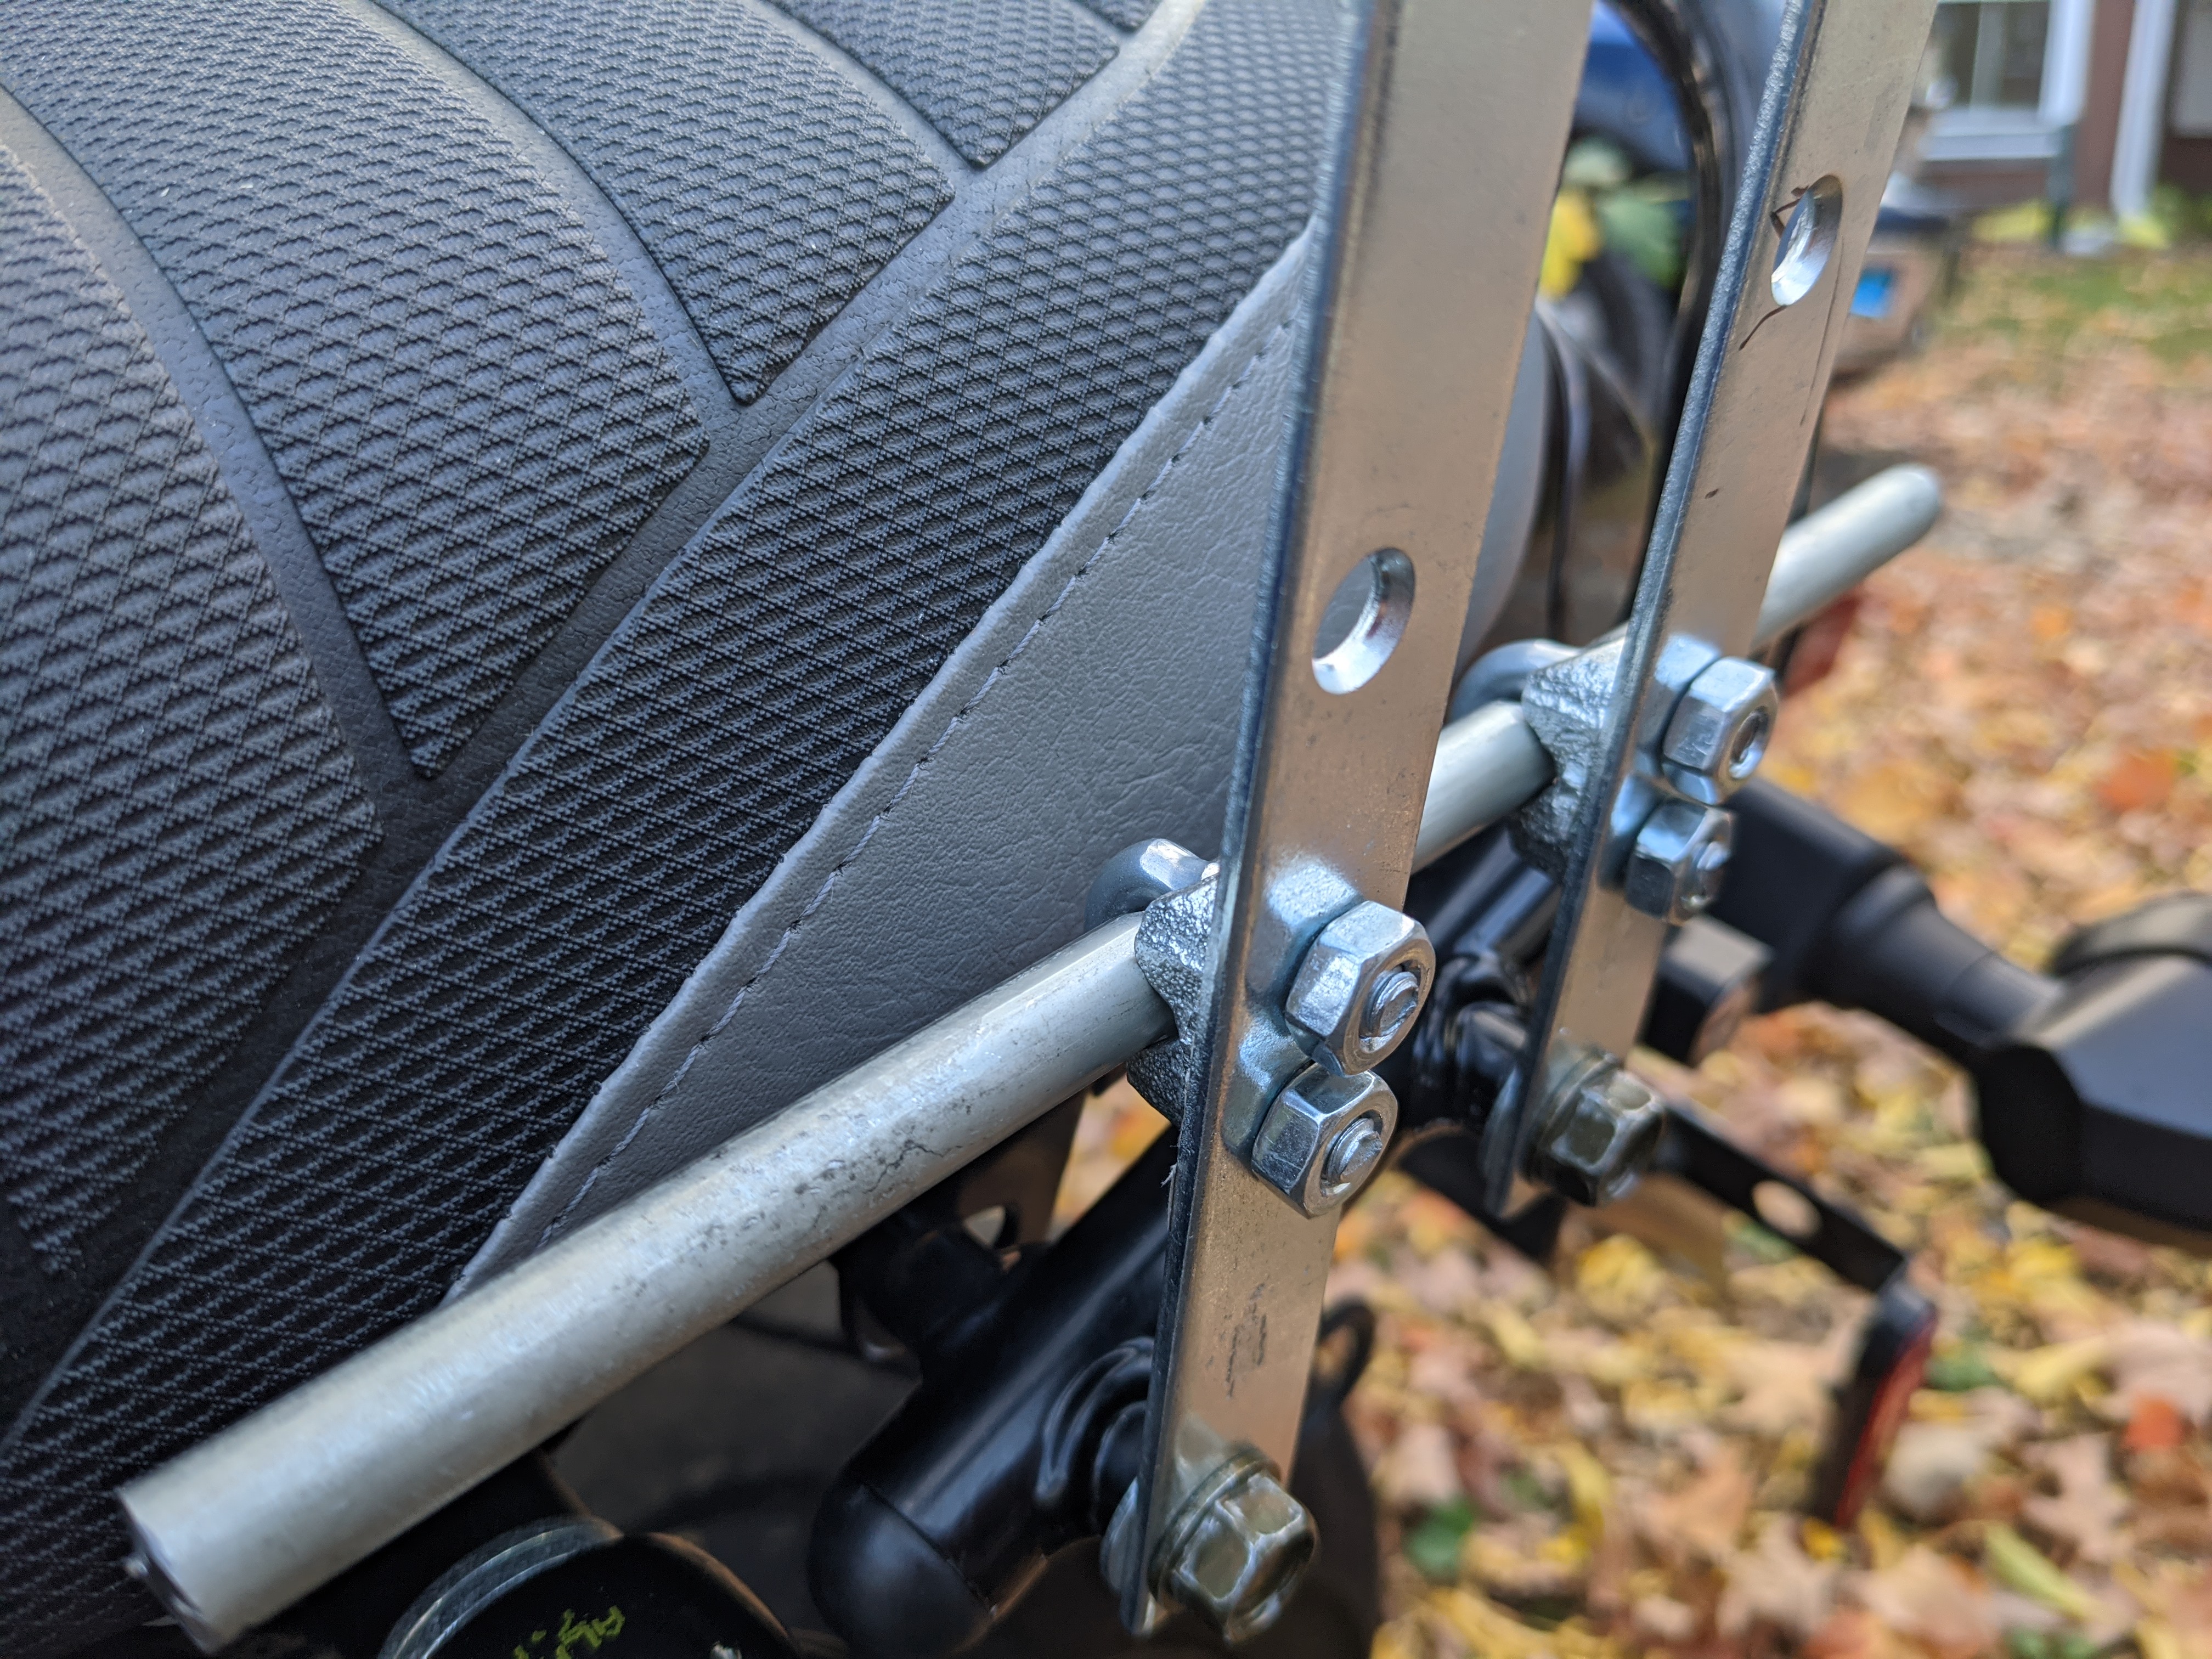
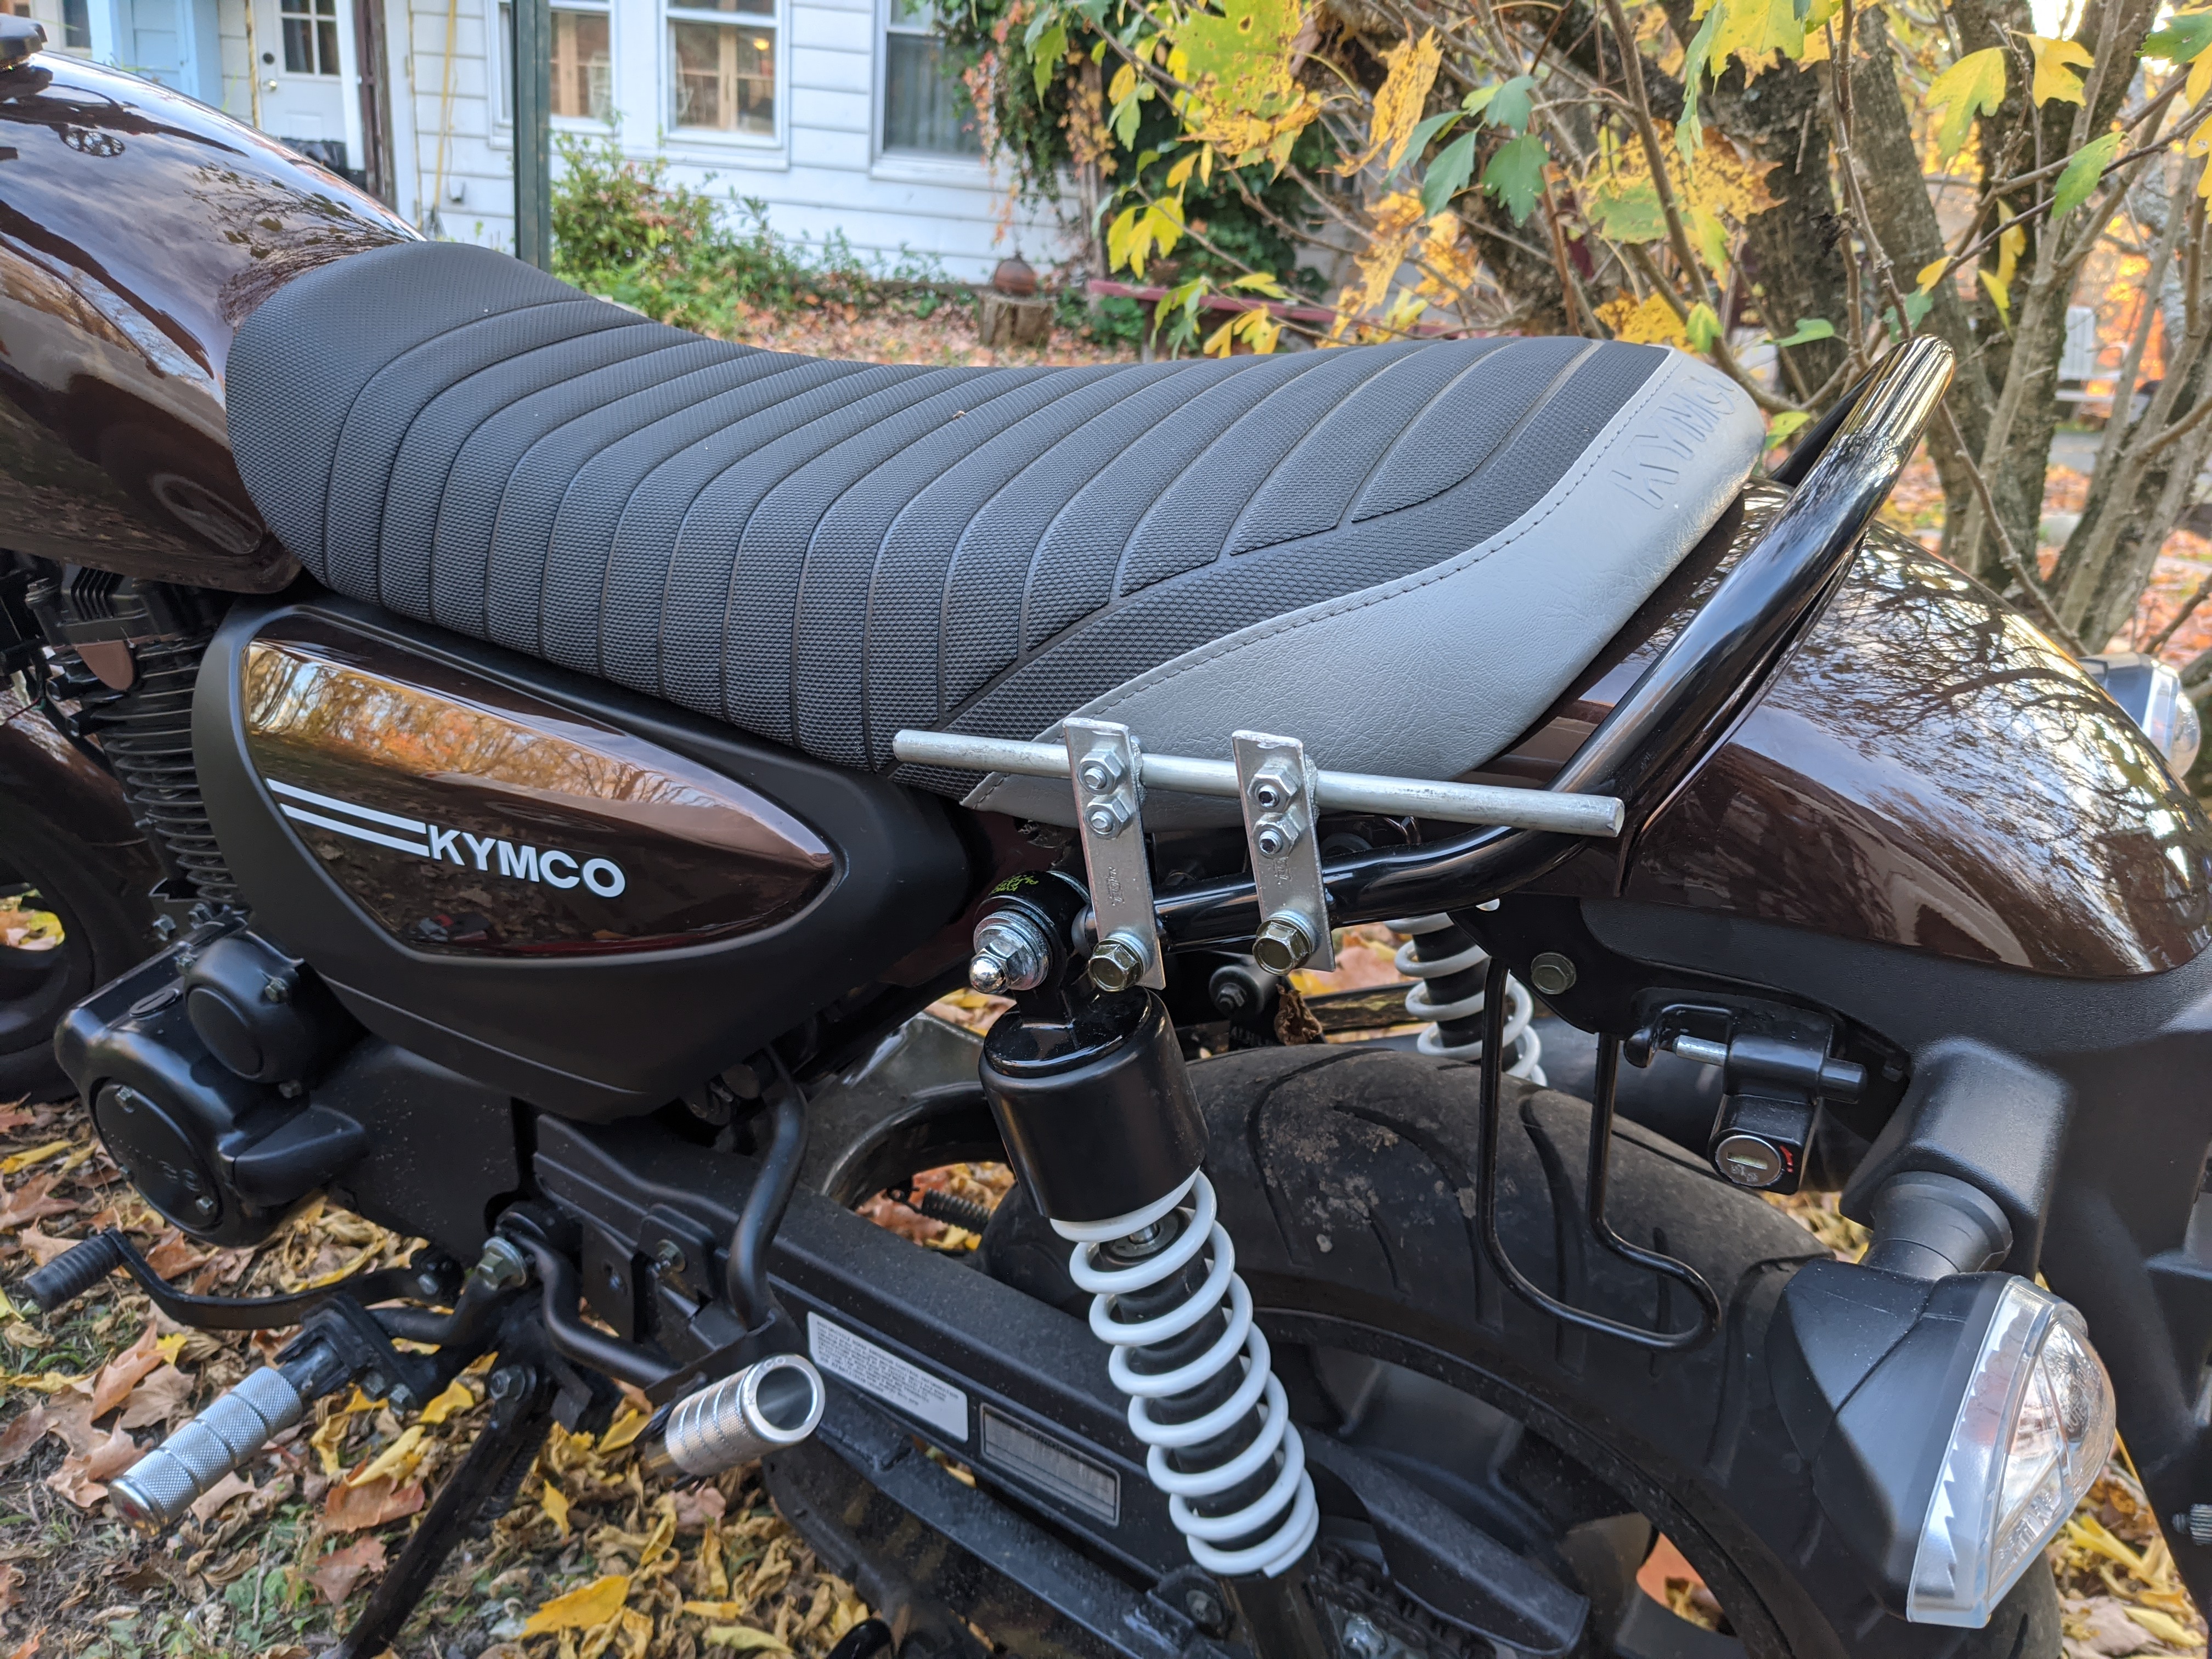
With the rod and saddles properly dremeled, it was time to attach the pieces in place!
The final step was to tighten all the loose bits, and then finally, use the dremel once more as a cutting tool to remove the extra material on the top half of the mounting plates. I cut off the material, and then ground down and sanded what remained to be a smooth curve instead of any pointy bits that might dig into the legs of any bike passengers.
Here’s what the final product looked like!
The End
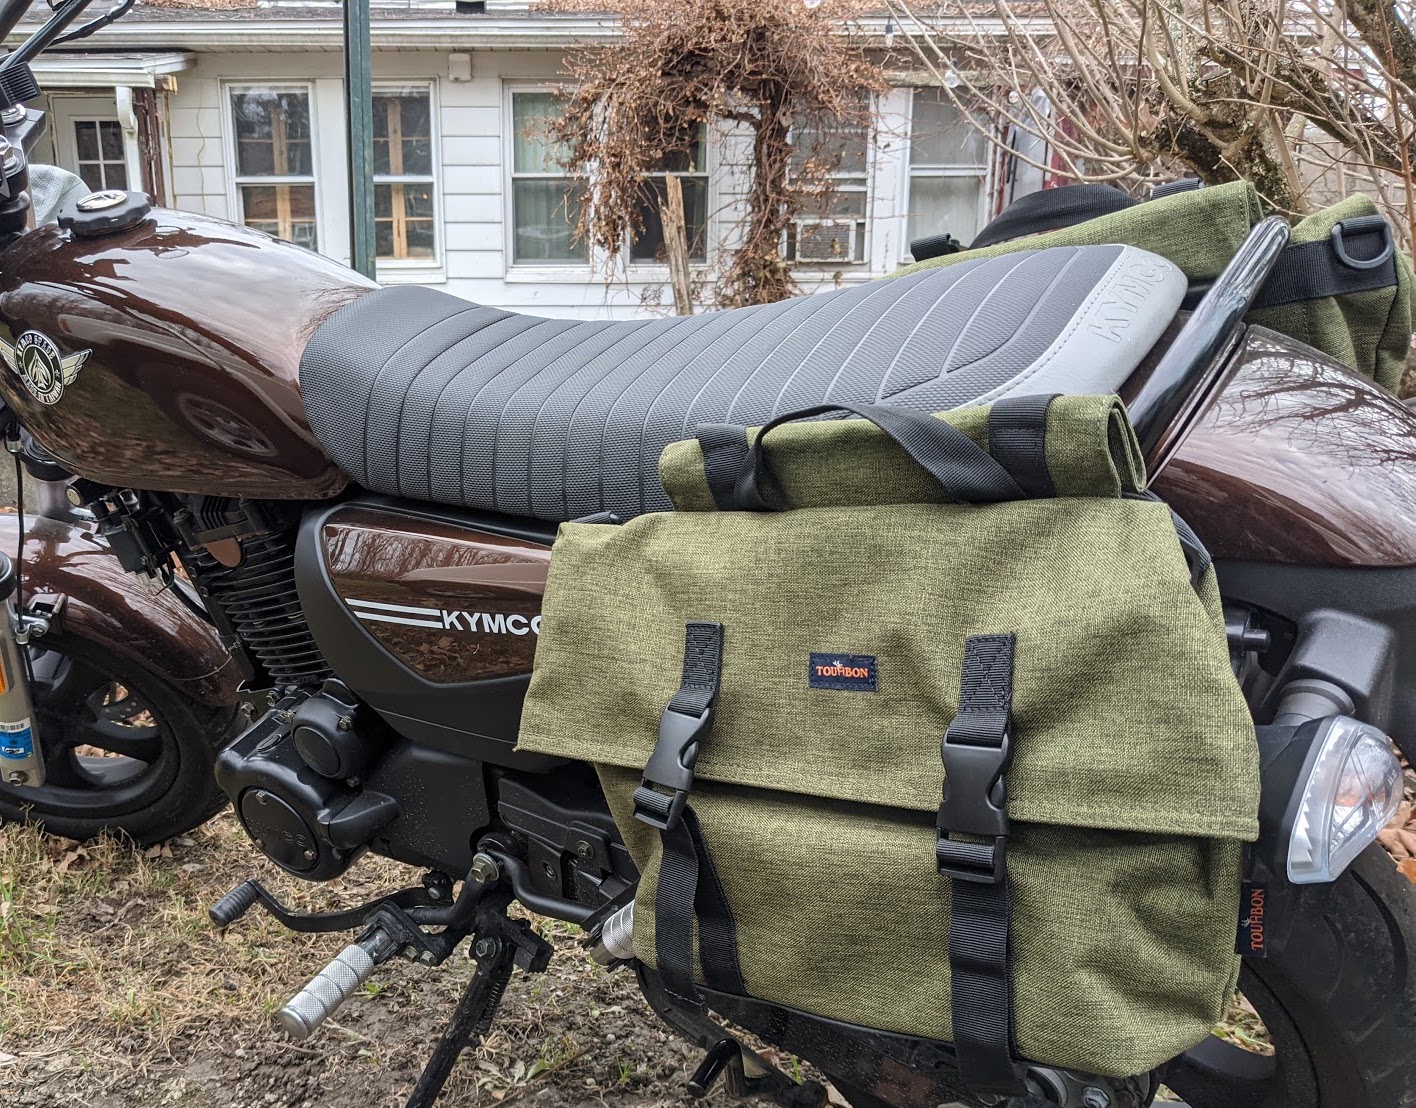
The final reflection: it works great! It’s so much easier to go shopping now when I can just snap the bags on and off the bike. Saddlebagging-up has gone from a period of minutes of strap management, to just a few seconds.
Best of all, the whole thing cost me $22 and two afternoons (one to do each side of the bike). How about that to compete with a $120 out-of-stock purchasable rack?
Thanks for reading!